Your cart
There are no more items in your cart
Configure your shade sail online
Design, shape, fabric. Ready in 5 days.
Learn more


Free design service
After-Sales Service
Delivery 24 / 48 hours
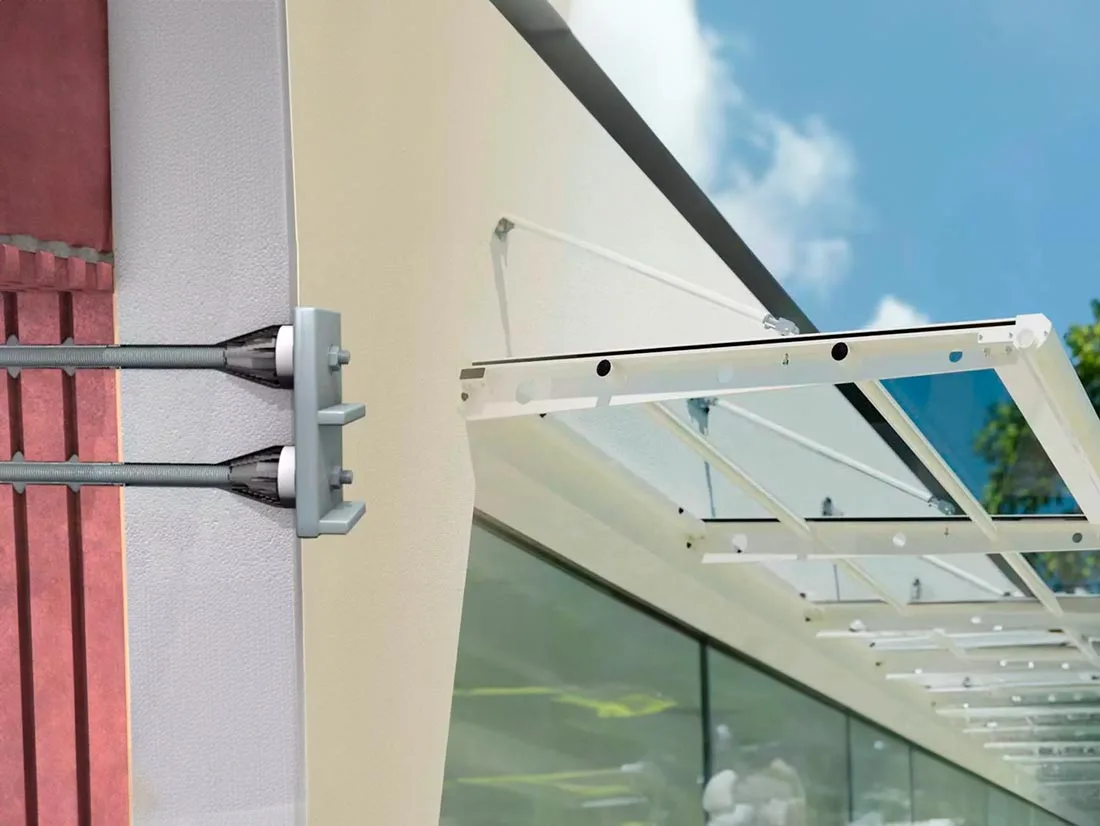
Fischer Thermax is the solution for fixing to walls with thermal insulation. This system is specially made for high loads and prevents thermal bridging between the wall and the outside of the insulation.
It is used for fixing Muscle x3 and Simple wall plates. Thermax is also ideal for fixing poles with collars to the wall.
Choose options
Free design service
After-Sales Service
Delivery 24 / 48 hours
| Brand | Fischer Thermax |
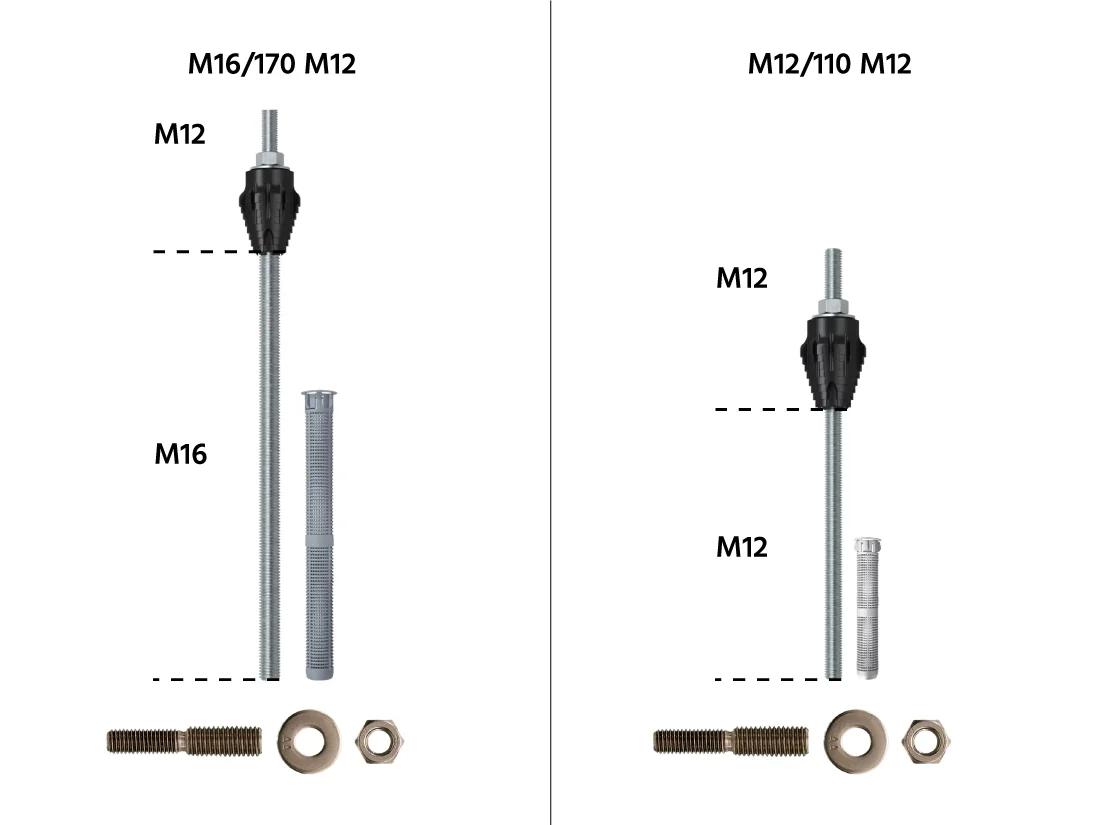
| Model | M12/110 M12 and M16/170 M12 |
| COMPATIBILITY | |
| Wall plates | |
| Poles | |
| TECHNICAL DETAILS | |
Dimensions | |
Materials | Galvanized steel, fiberglass reinforced plastic, stainless steel |
PACKAGING | |
Limited warranty | Official warranty conditions by Fischer |
Packaging size | max. 20cm x 20cm x 10cm |
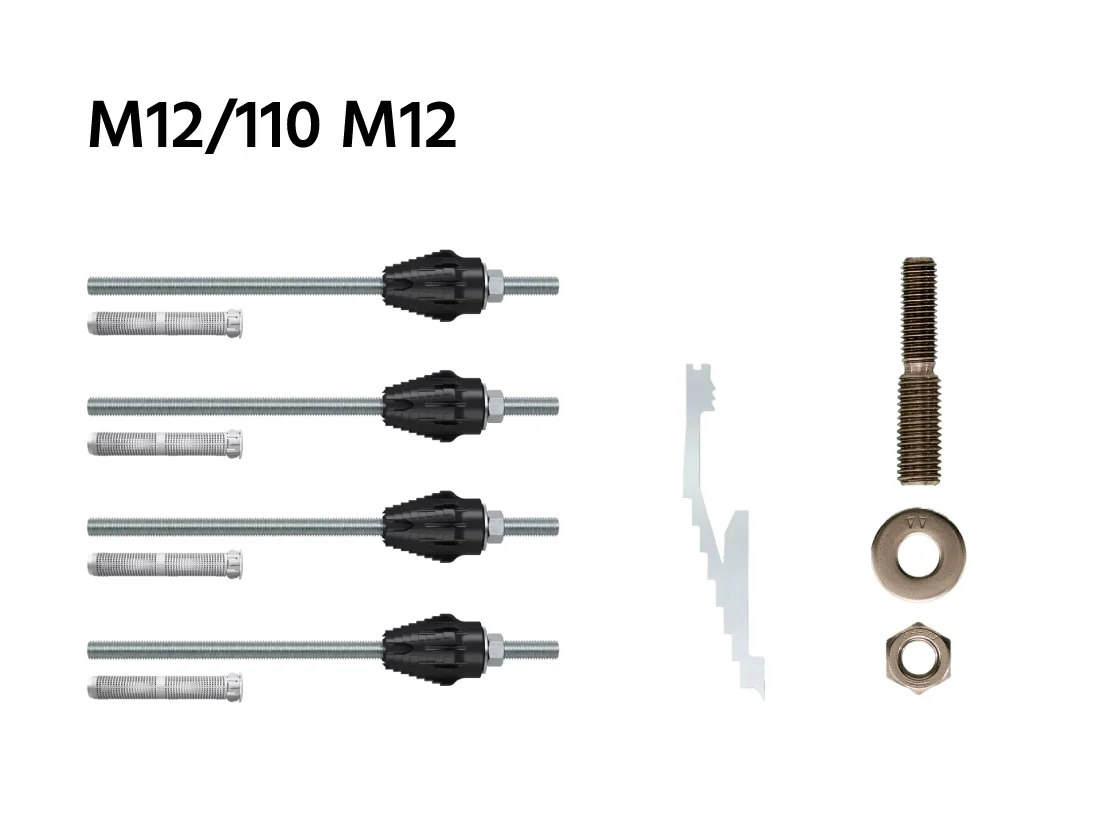
ITEMS INCLUDED

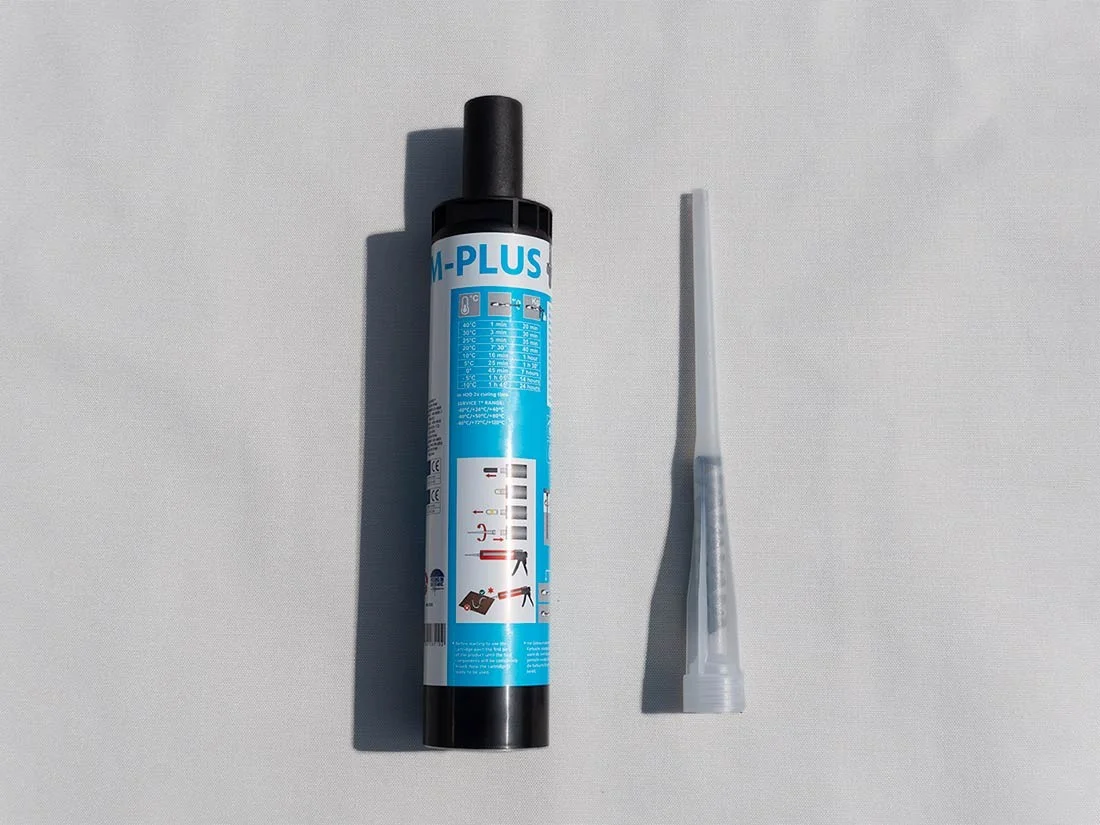
PRODUCTS NOT INCLUDED (required)
The choice of Fischer Thermax fixing for thermal insulation depends on a series of factors, including:
In general, it is recommended to use Fischer Thermax fixings with an insulating cone, to avoid the formation of thermal bridges.
Below are the Fischer Thermax kits recommended by Maanta for fixing shade sails to thermal insulation:
The length of the Fischer Thermax must be chosen based on several factors, including:
It is generally recommended to use thermal insulation screws with a minimum length of 100 mm.
To install a Fischer Thermax on walls with thermal insulation, you need to follow the following steps:
For detailed steps, follow the guide at the following link
Share your Maanta moments with #mymaanta
David L. DE 23/06/2026
Verified reviewHält wirklich sehr gut, wenn man die einzelnen Schritte beachtet. Ich habe es selber eingebaut und bin echt zufrieden. Read more Read less
Translate23/06/2026
Was this review helpful?
You must log in to ask a question.
Log inDo you have doubts or questions about this item?
Feel free to ask!
Your questions will also help other users.
Alternatively, contact our customer service who will guide you with personalised advice.
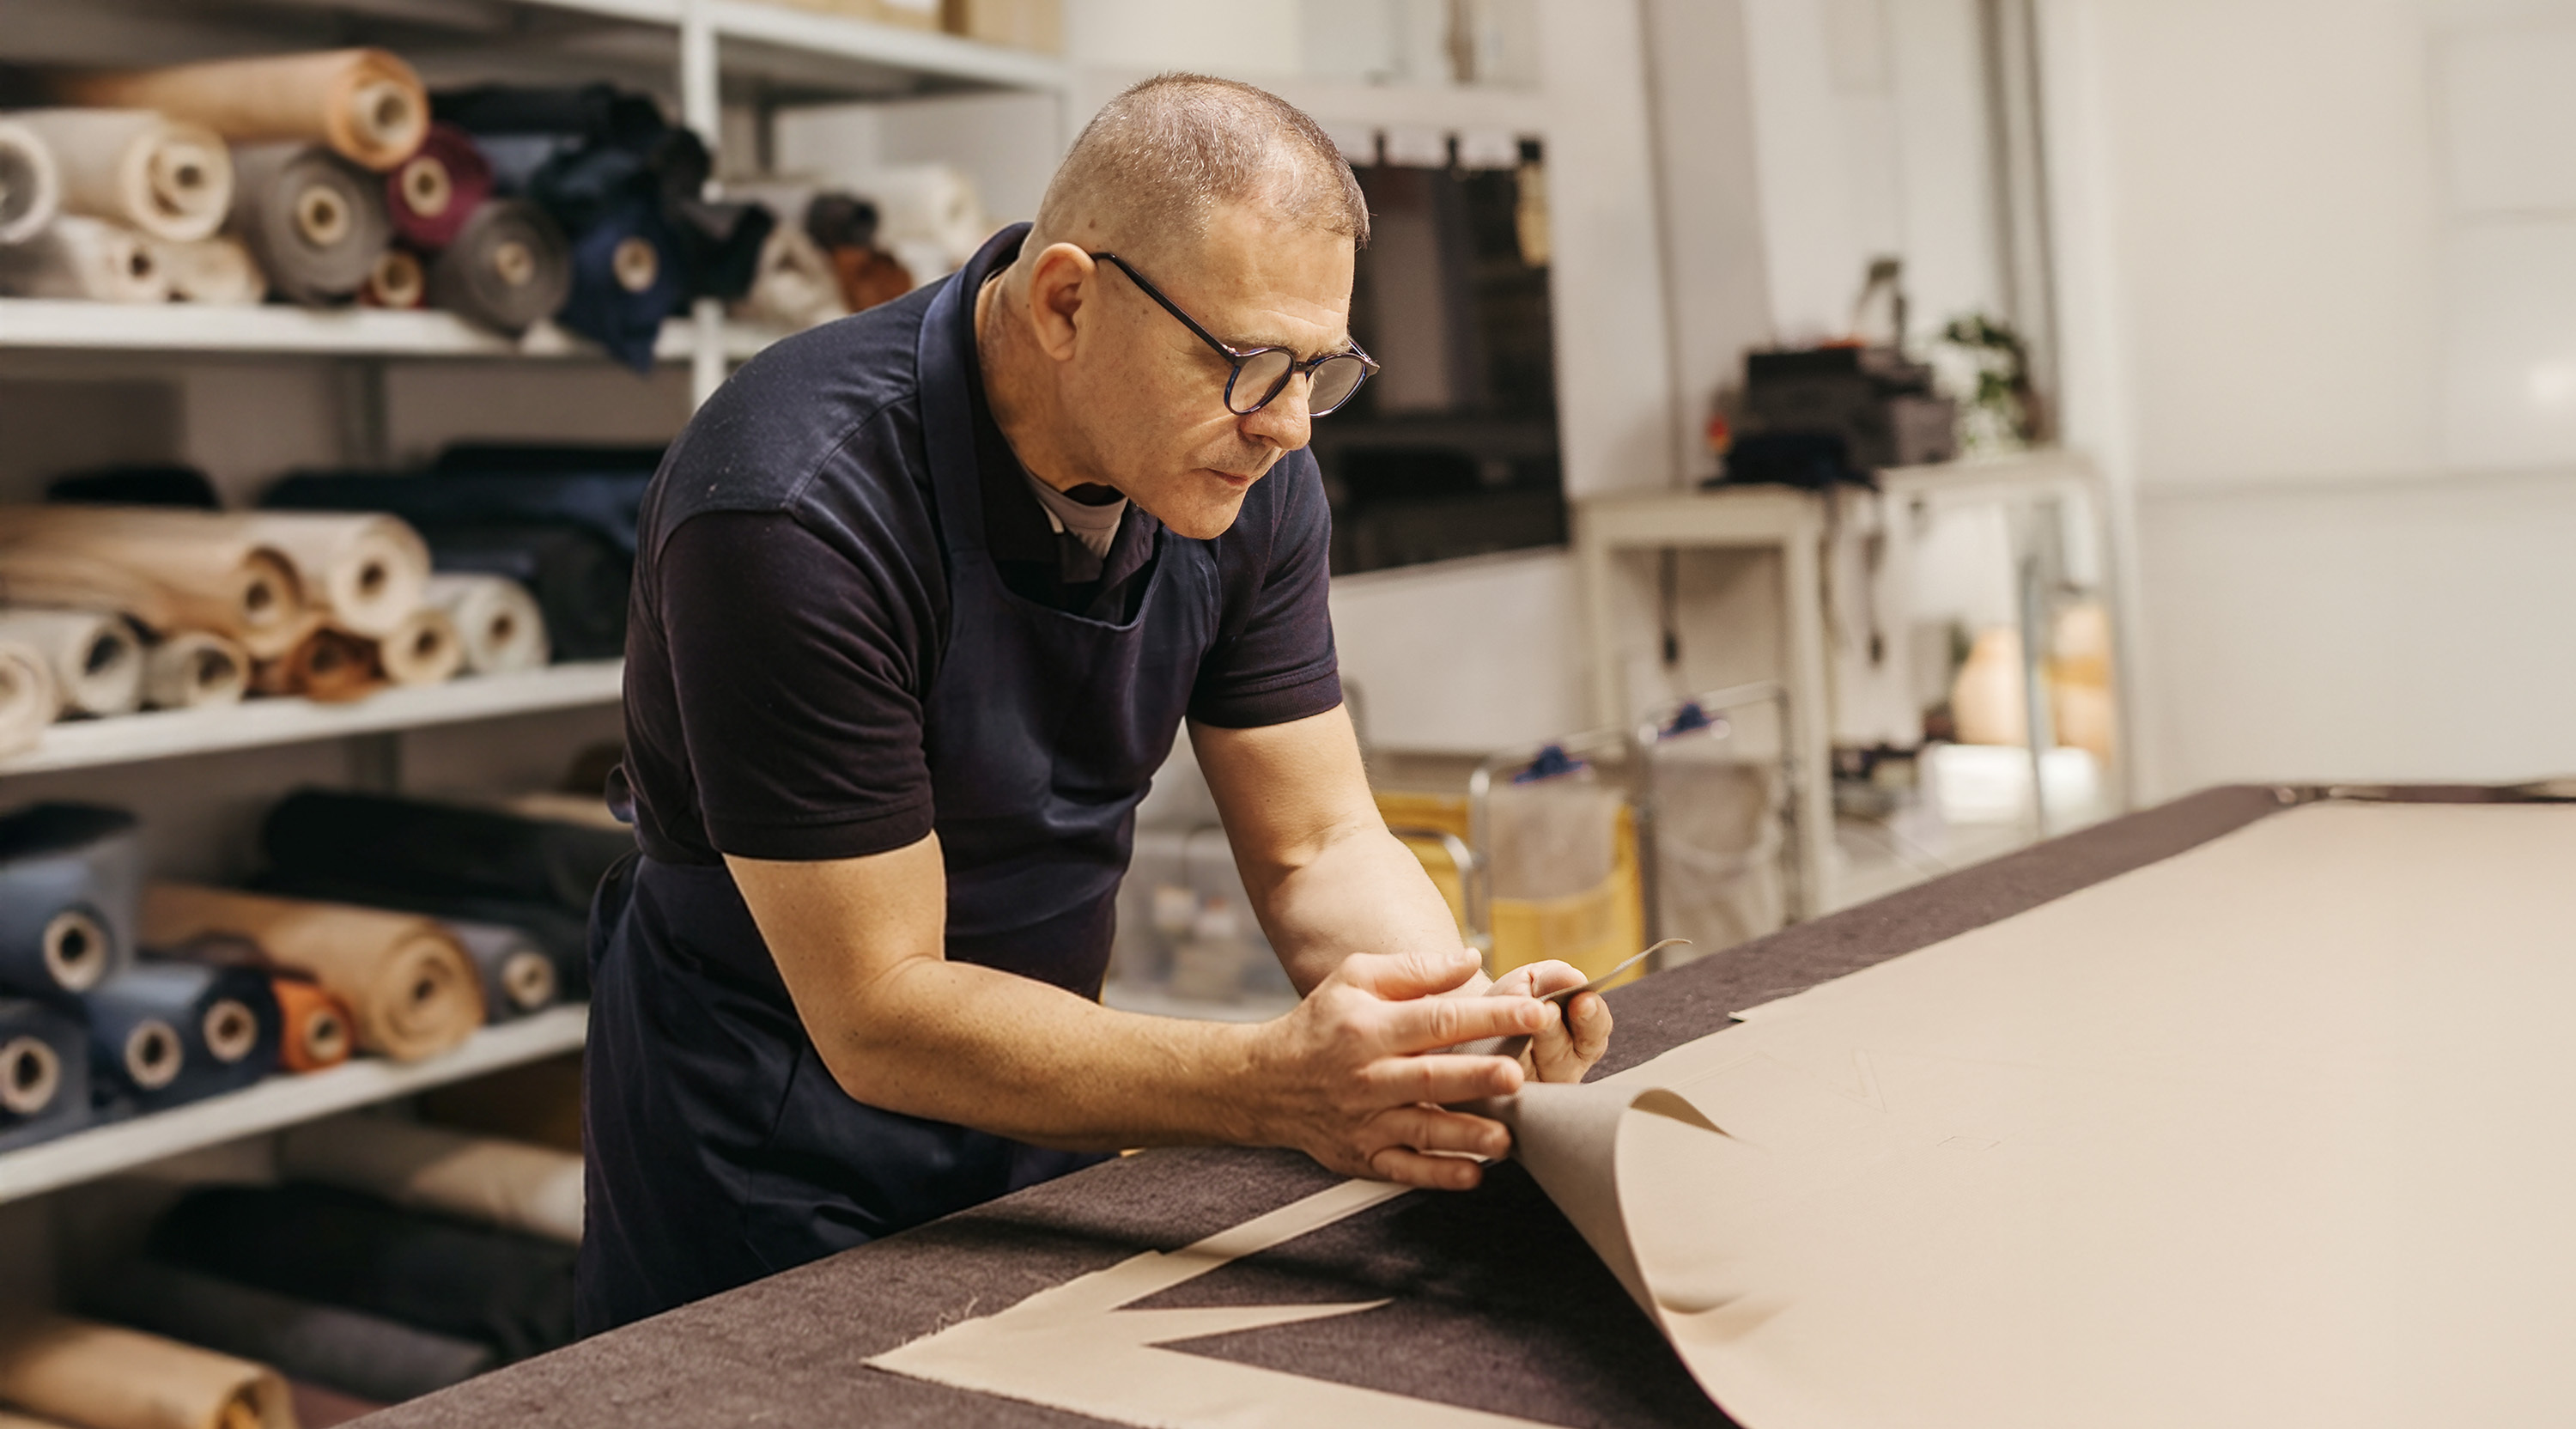
Expert hands guide intelligent machines.
Time-honoured knowledge meets cutting-edge technology. At Maanta,
craftsmanship hasn't stopped at the past: it has evolved
to create products that stand the test of time and improve everyday life.


 English GB (English)


