Installation guide · Indoor roller blinds

How to install your indoor roller blind

Reading time: 9 minutes

This guide covers the Kyma and Recta models, in both manual and motorised versions. Installation is the same: mark, drill, fix the brackets and hang the roller tube. Only the operating system changes, chain or motor. Where the instructions differ between the two versions, the step tells you. You'll need a drill, a pencil and, ideally, a second person.

PREPARATION

Before you start: what you need and where to mount the blind

What's in the box

The box contains all the components for installation. Remove the protective material and packaging and check that you have:

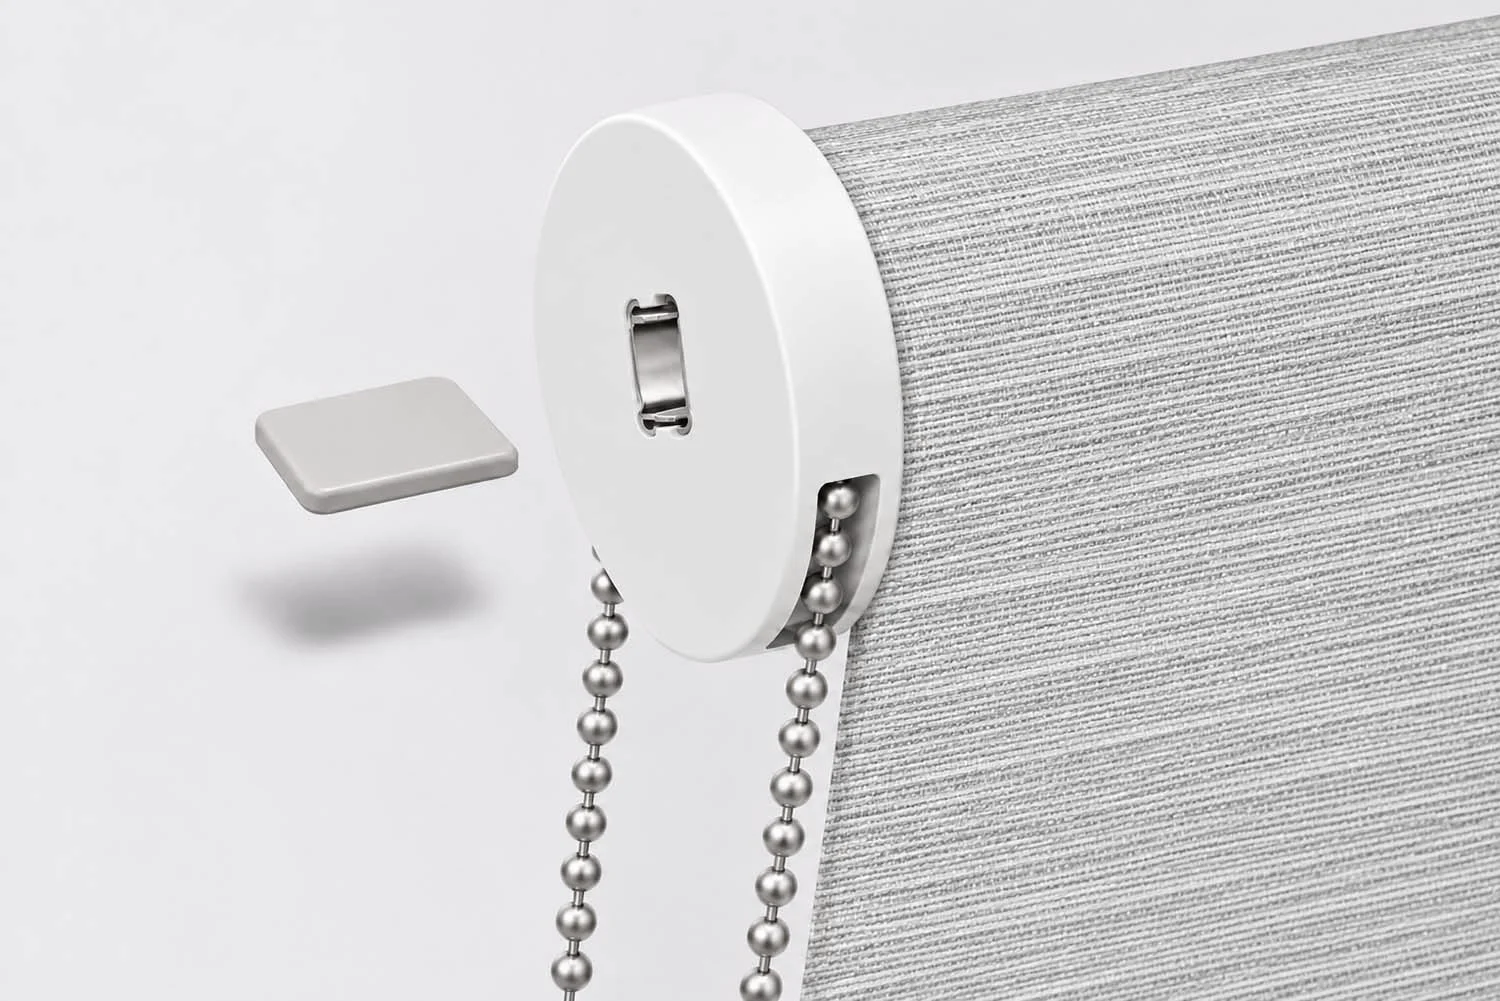
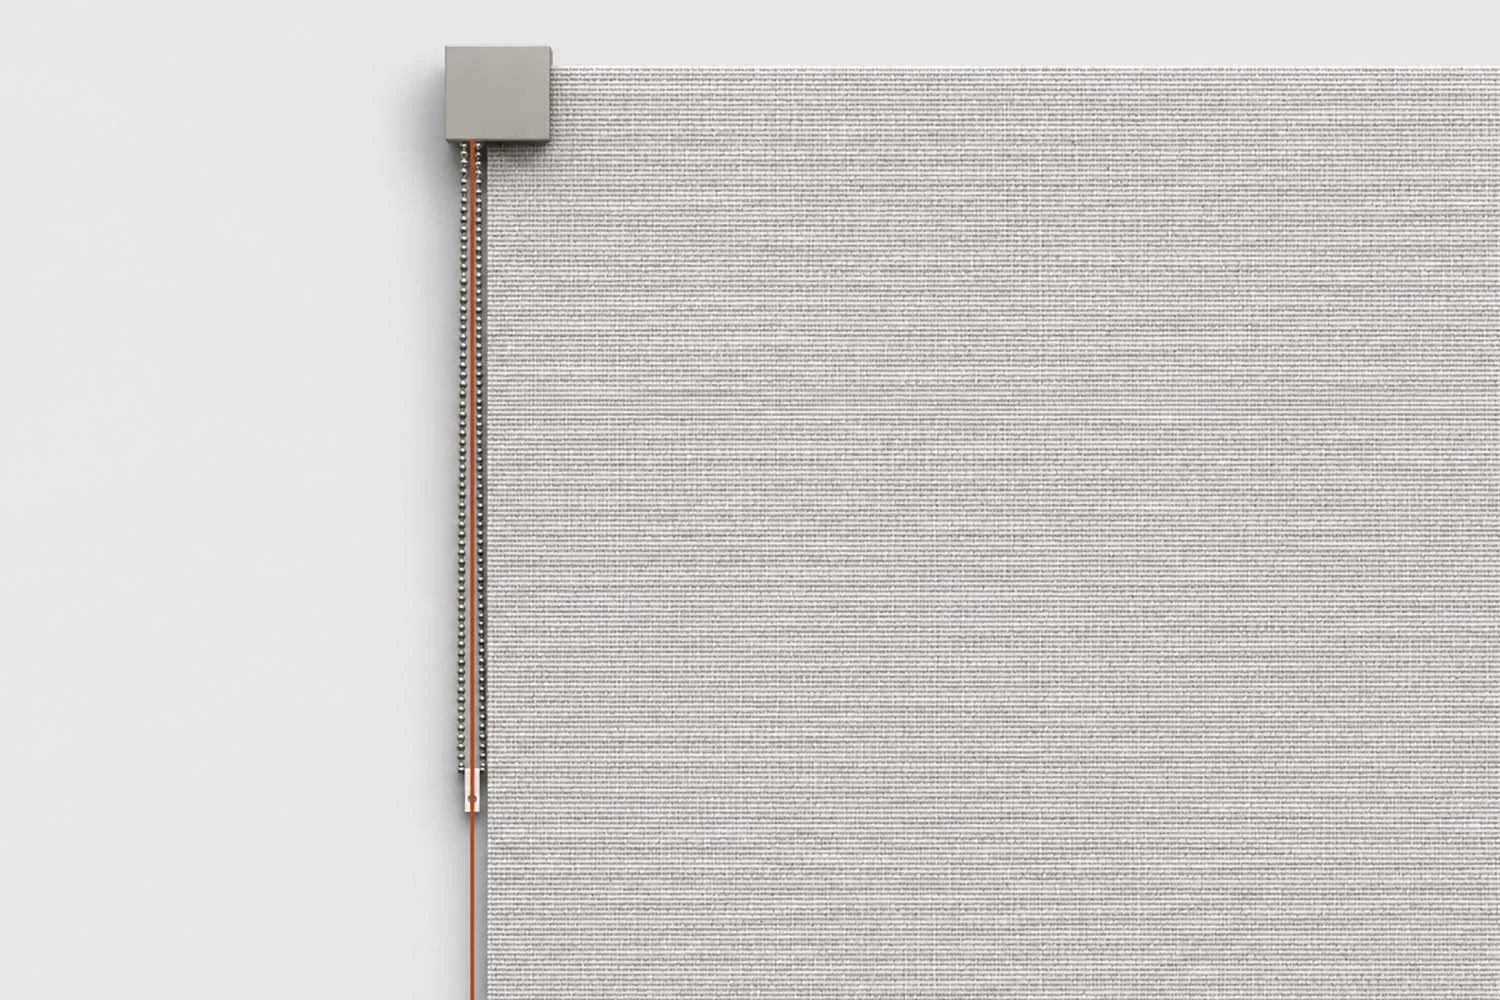
  • the roller tube with the fabric and the operating system already installed inside: chain clutch on the manual version, motor with rechargeable battery on the motorised version;
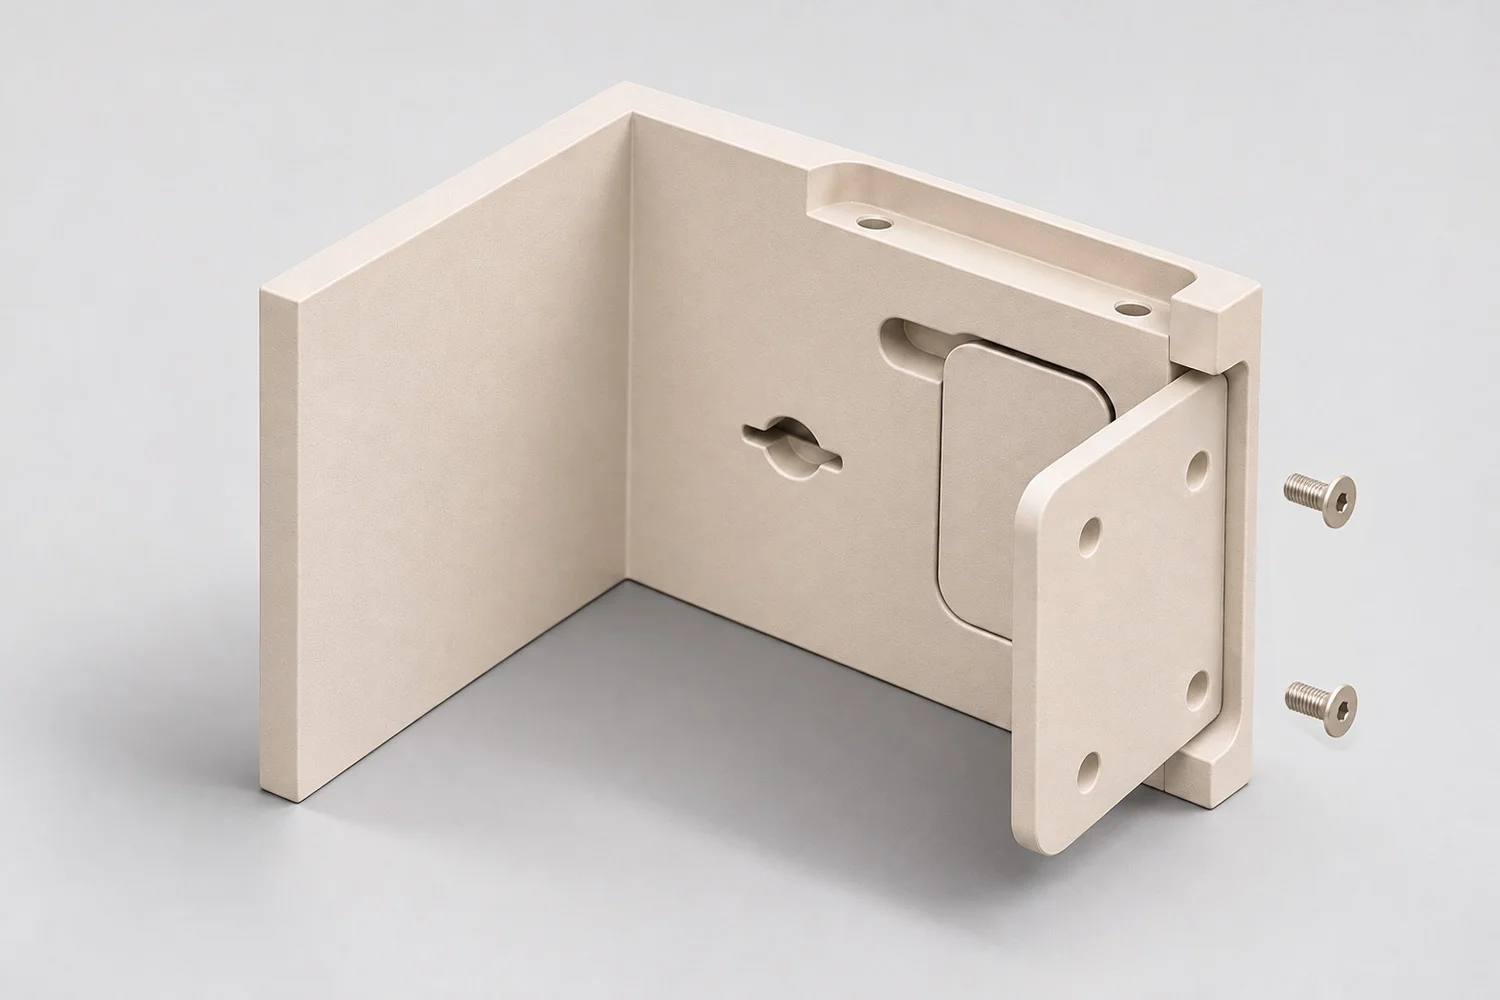
  • two brackets with their mounting plates;
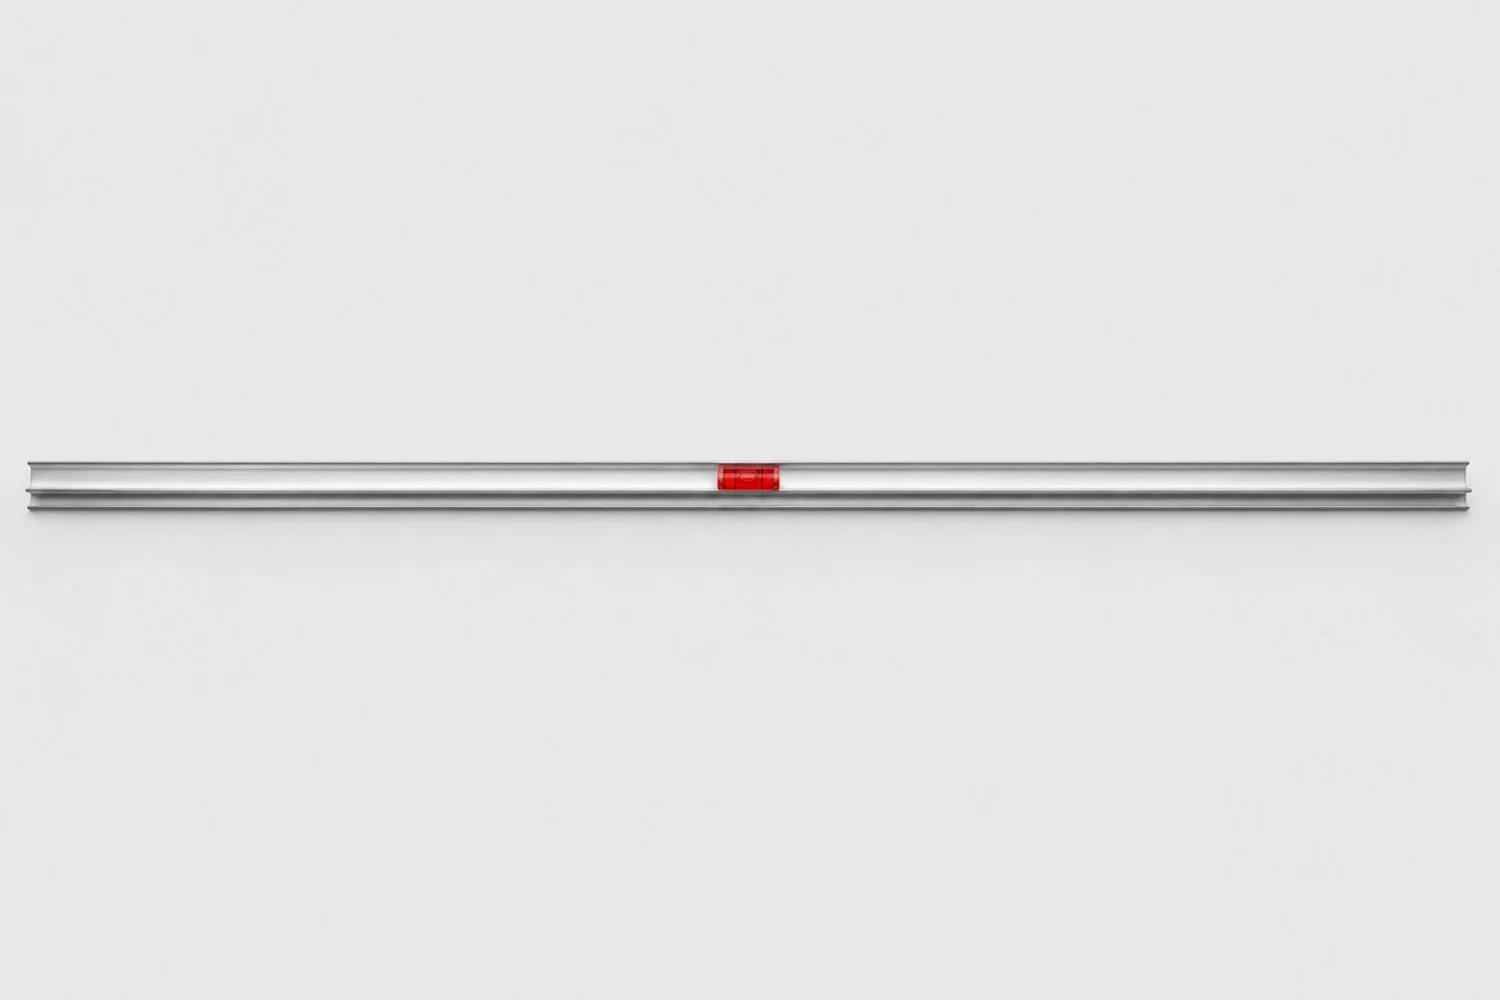
  • the spirit level profile, used for marking only;
  • wall plugs and screws;
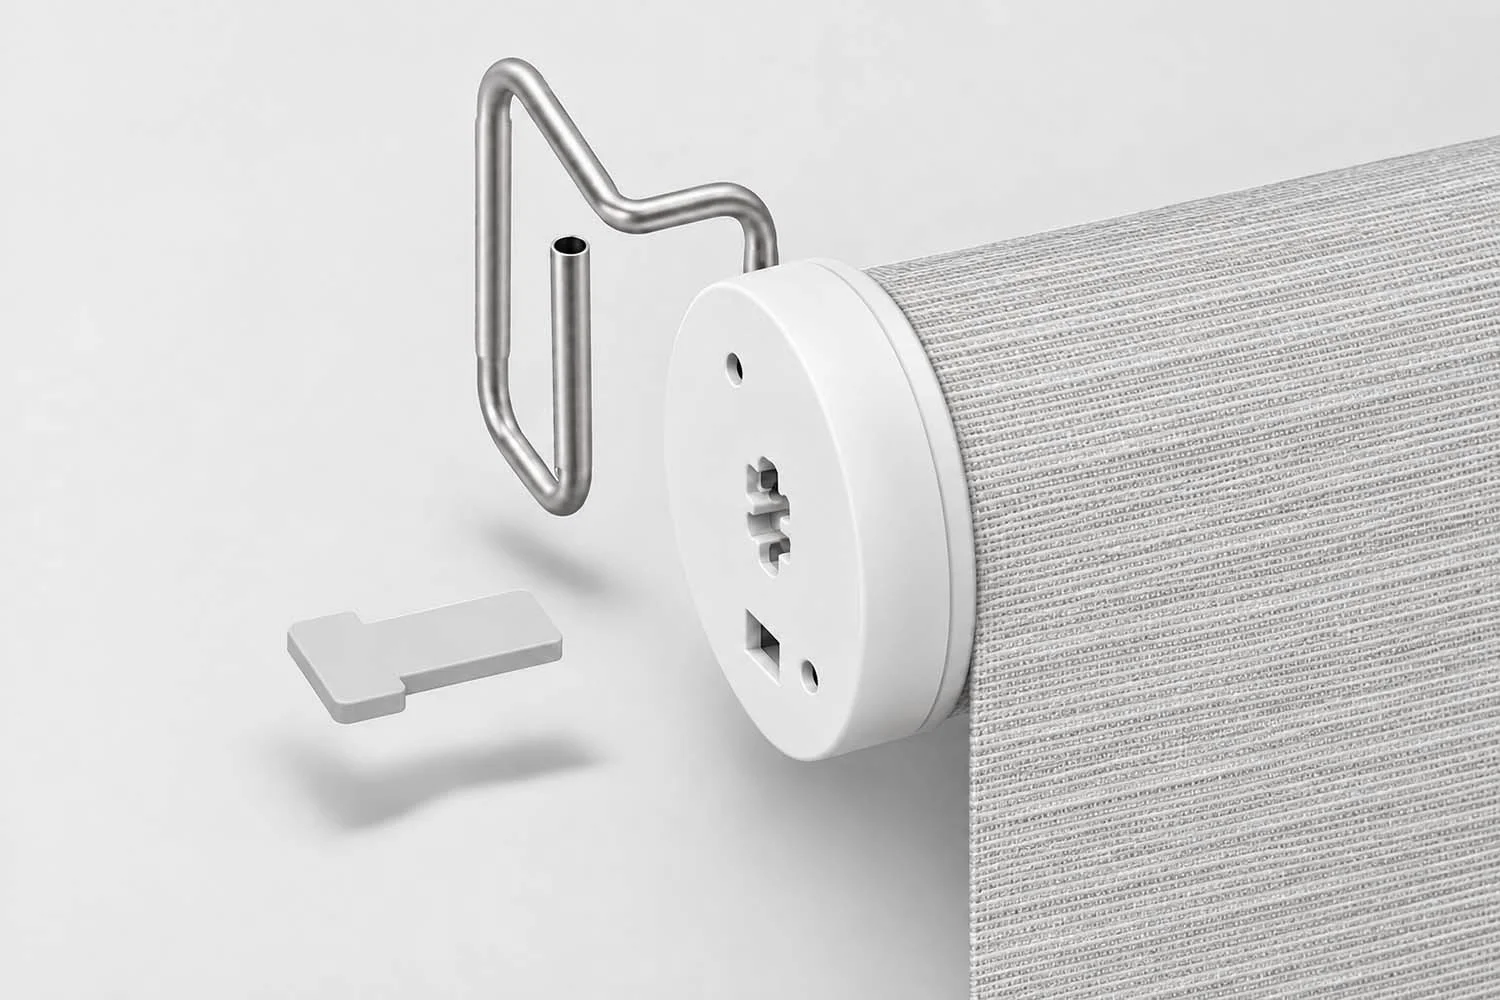
  • the adapter that connects the operating system to the bracket;
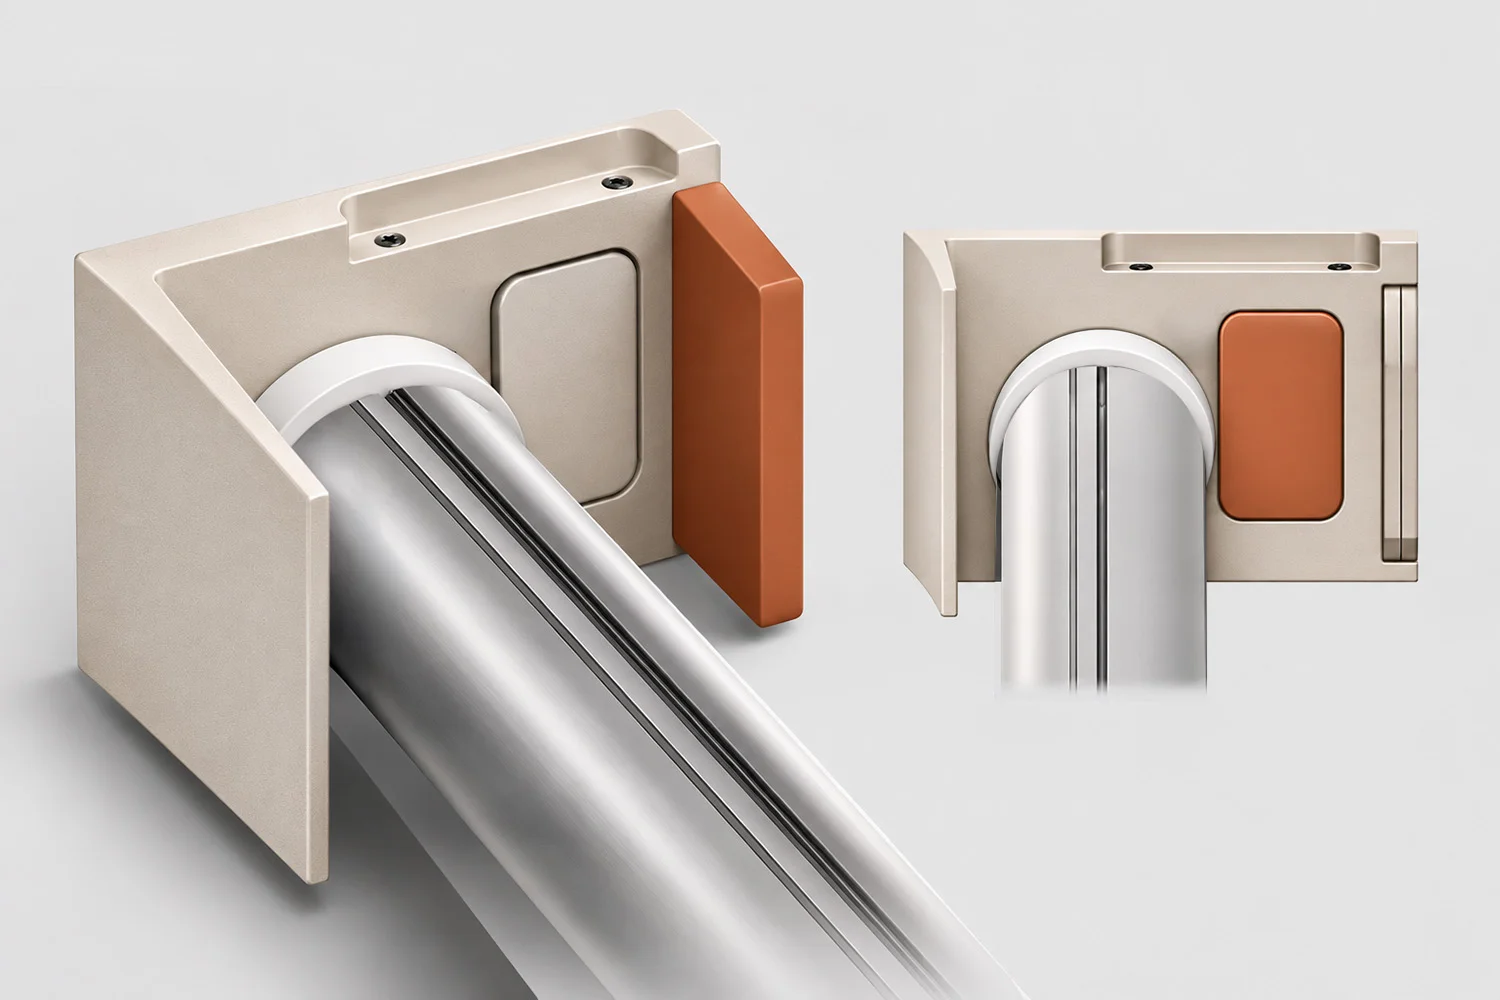
  • the covers for closing the brackets;
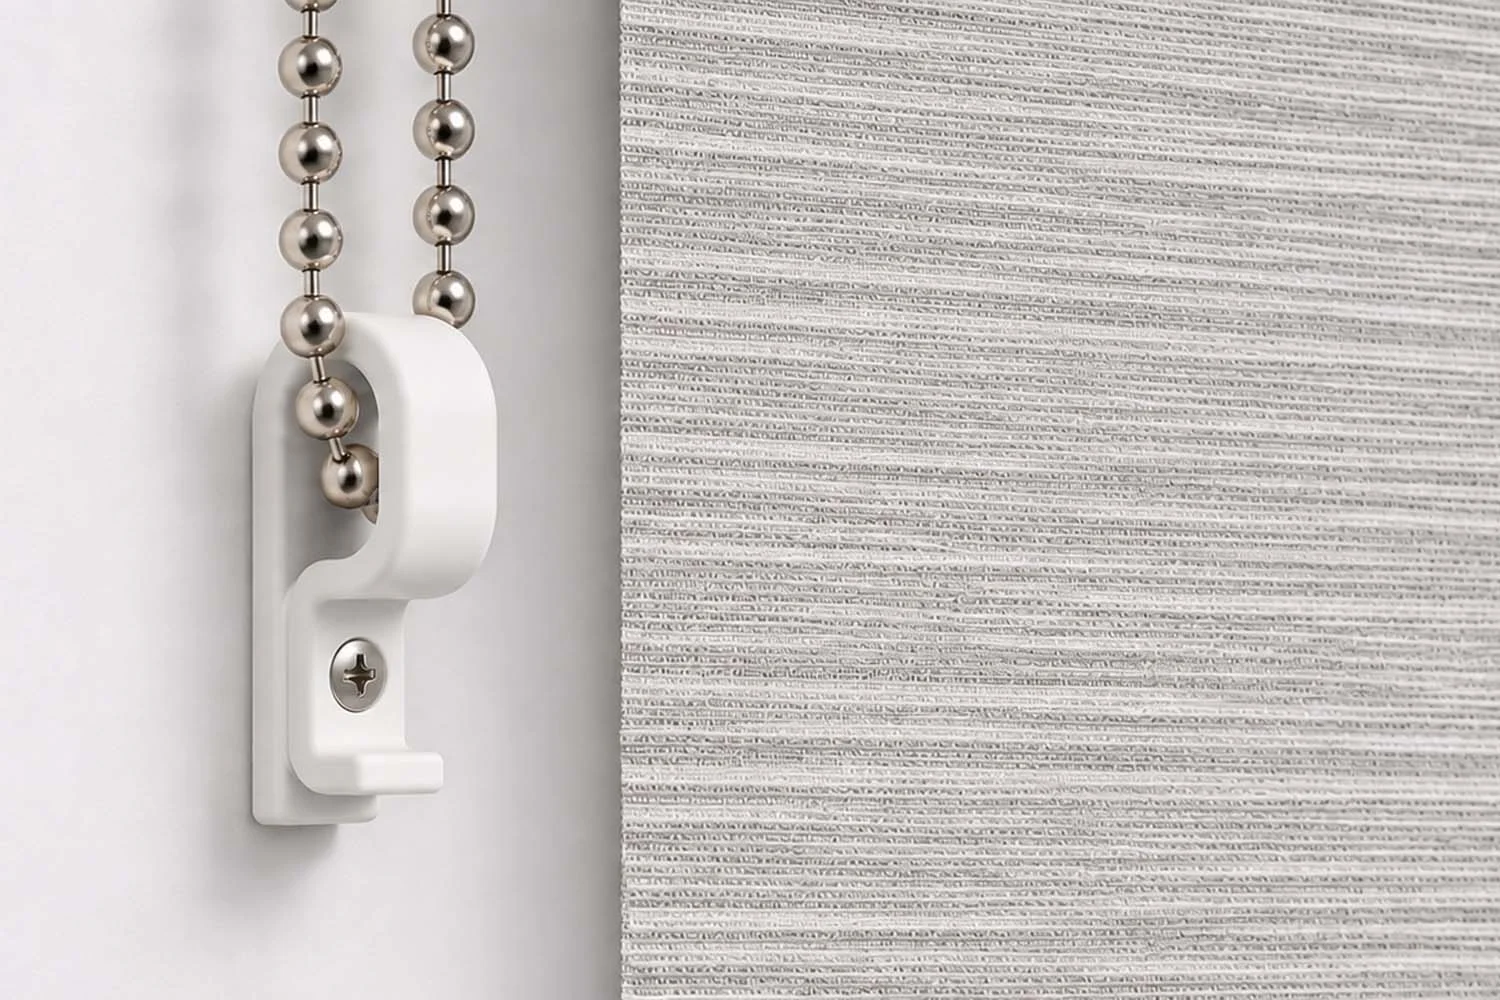
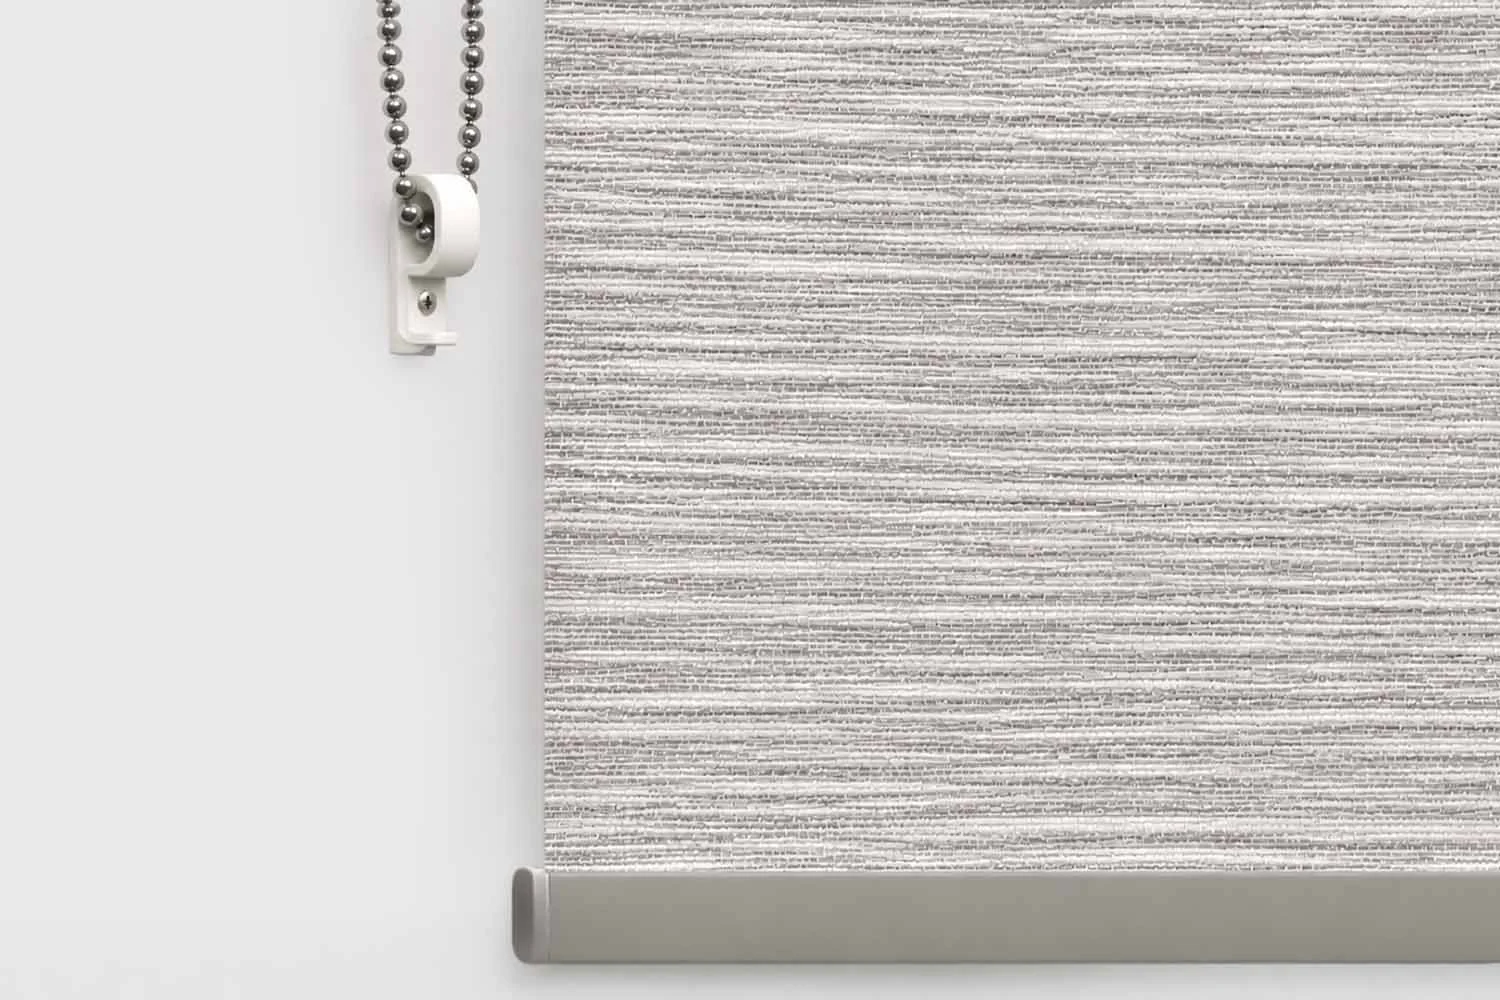
  • on the manual version, the safety chain tensioner with its wall plug, attached to the chain;
  • on the motorised version, the power adapter for charging the motor and, if you ordered one, the remote control.

What you need

  • a pencil;
  • a drill with a 6 mm masonry bit;
  • a screwdriver for the bracket screws;
  • a second person: the blind weighs 2 to 9.2 kg depending on its size, and with two people it's easier to move and hang.

STEP 1

Mark in pencil where the plates go

The bracket height is the one you gave in your order: stick to it, because the blind is made to those measurements.

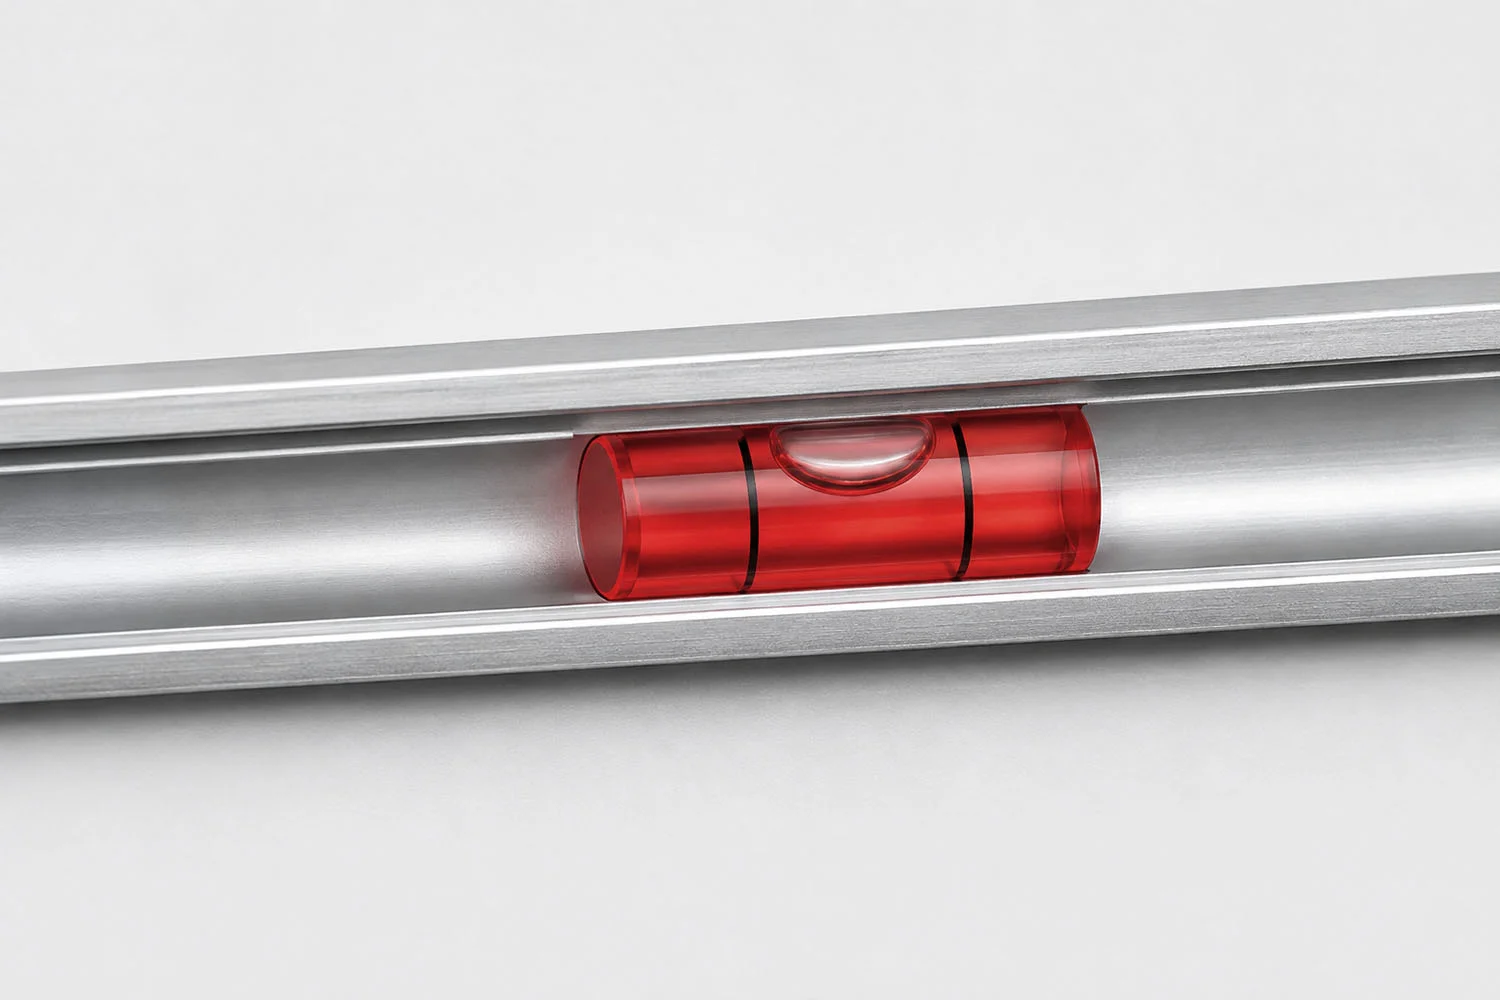
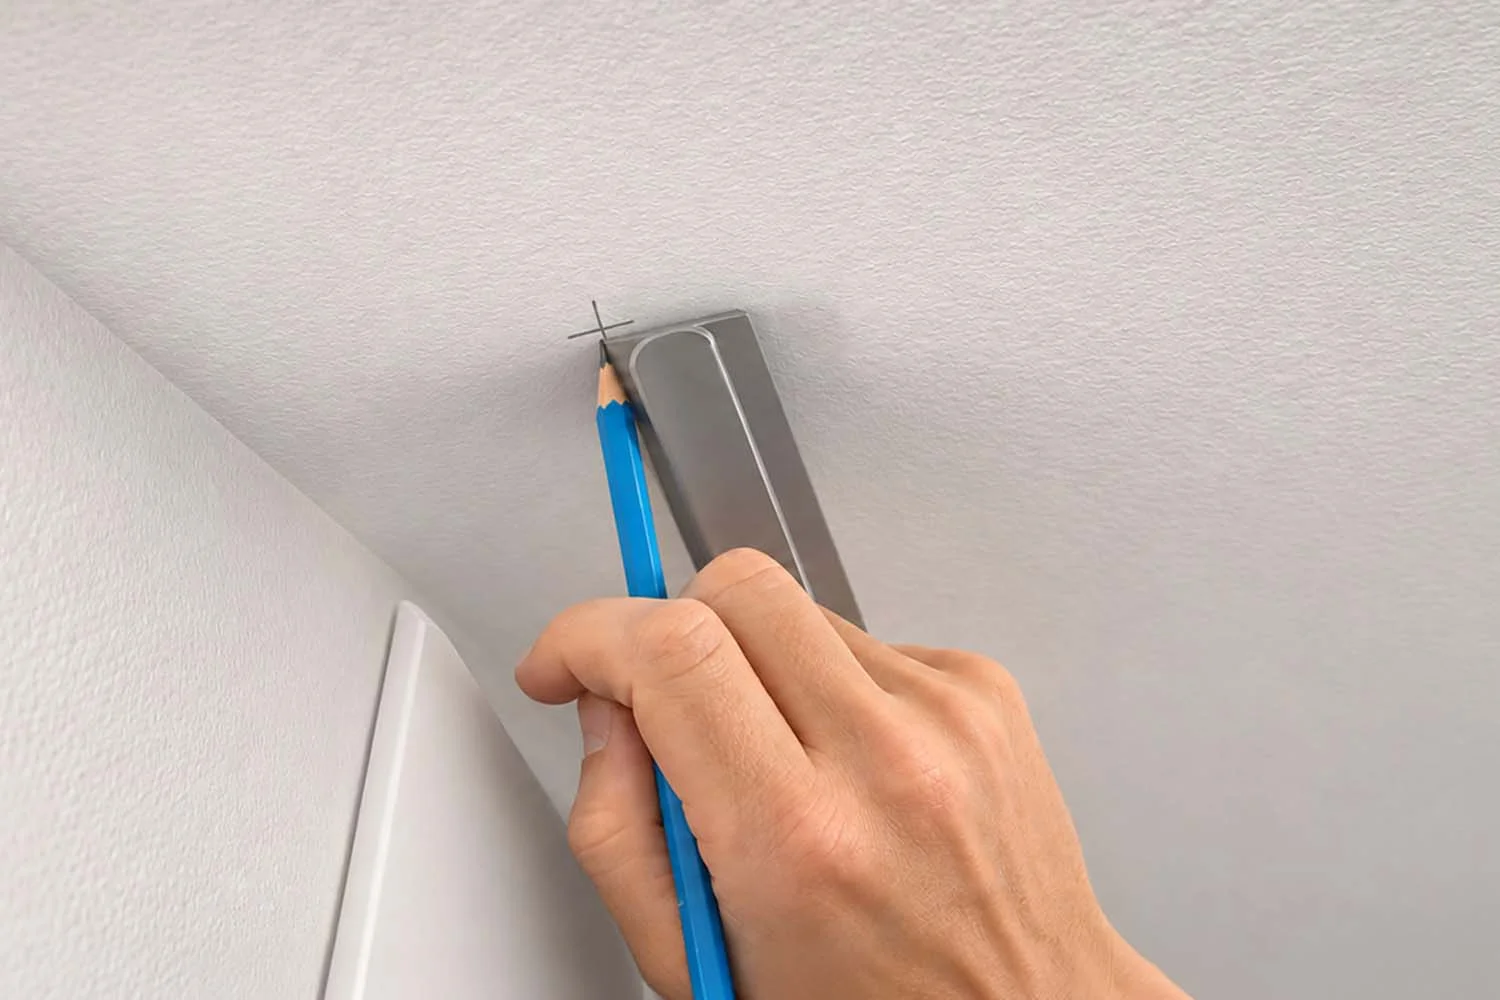
For marking, use the spirit level profile in the box. It's cut to the technical length needed to position the two plates at the right distance: once you've finished marking, you can set it aside.

  • Hold the profile against the wall at the chosen height and check the level.
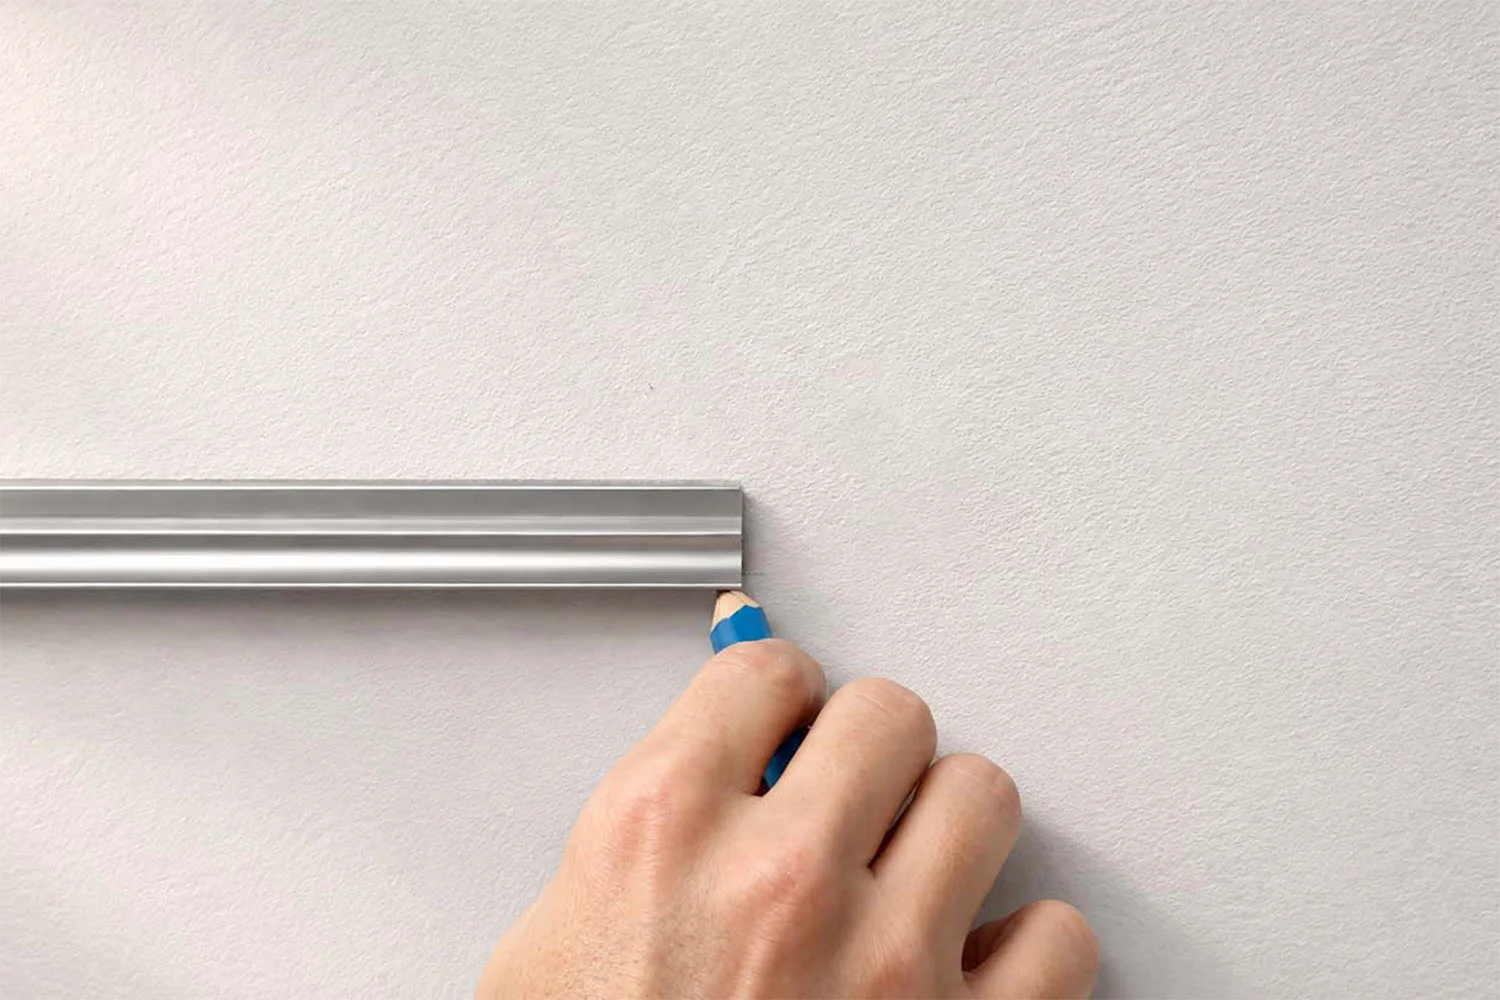
  • Mark the top edge and the left vertical edge in pencil.
  • Do the same on the right.
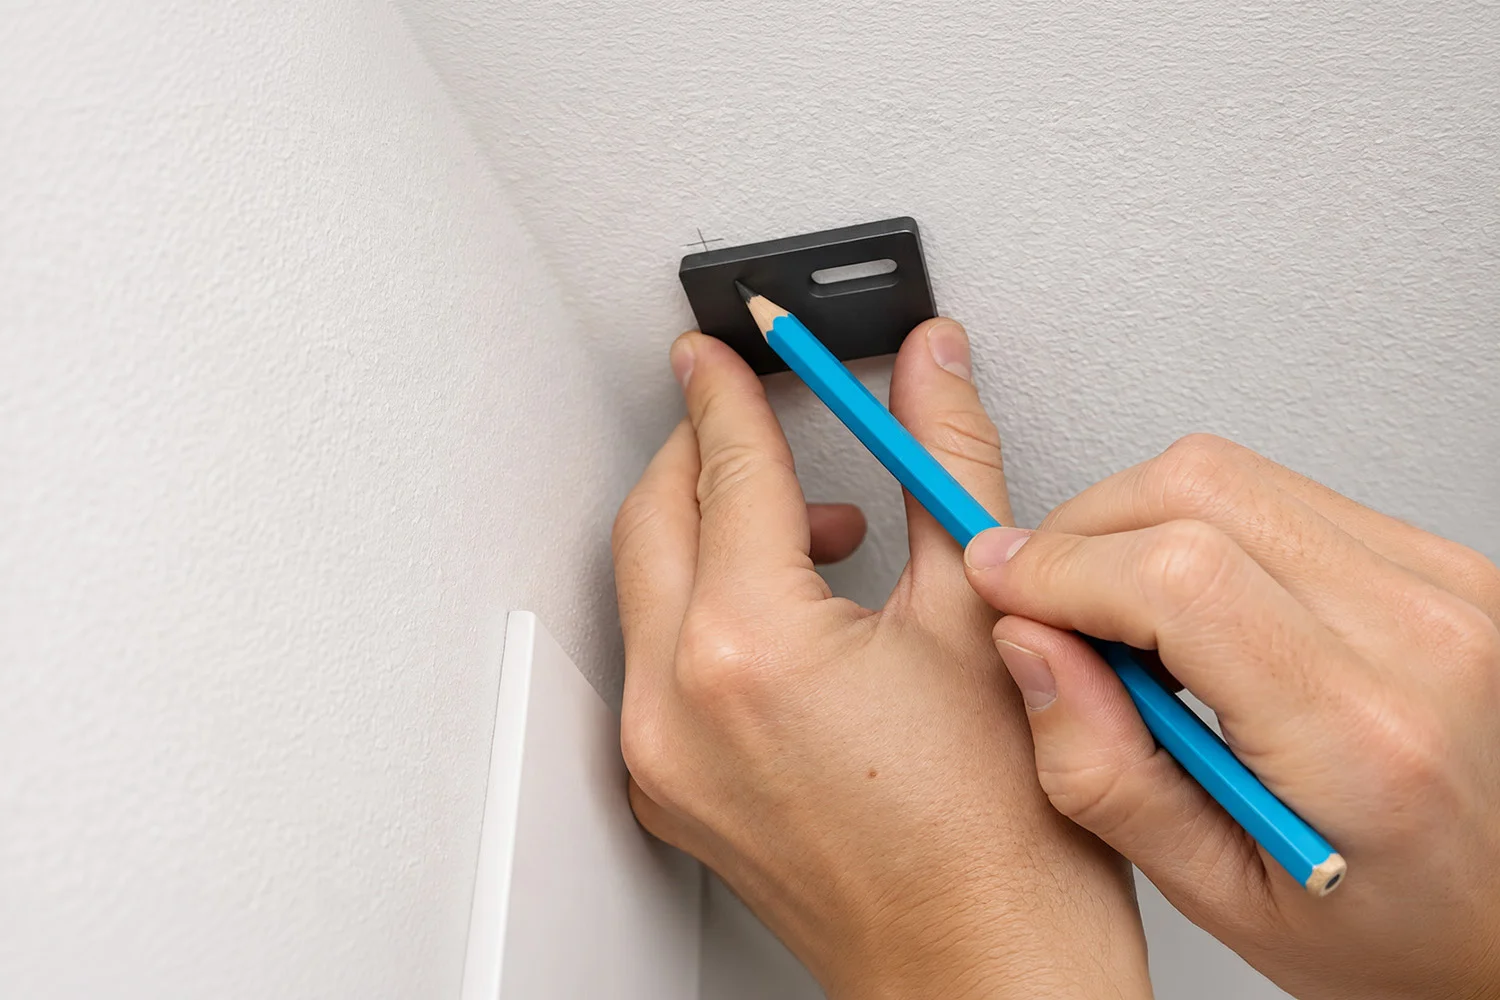
  • Place the left mounting plate on the marks and mark the slots: they show you where to drill.
  • Repeat with the right plate.

The spirit level profile and marking, figure by figure

SO, WHAT DO YOU NEED TO DO?

Mark the profile and the slots of both plates in pencil, at the height given in your order.

⚠ WARNING

Don't mark without checking the level.

If the profile is tilted, the blind will hang crooked and the fabric won't roll up evenly.

STEP 2

Drill the wall and fix the mounting plates

You need the drill and a 6 mm masonry bit: drill without hammer mode.

  • Drill the holes on the slot marks.
  • Insert the wall plugs.
  • Fix the plates, lining them up with the lines you marked in step 1.

SO, WHAT DO YOU NEED TO DO?

Drill, insert the plugs and fix the plates on the pencil lines.

⚠ WARNING

Don't fix the plates off the lines.

Even a small shift means the brackets won't line up and the roller tube won't seat correctly.

STEP 3

Screw the brackets to the plates, for wall or ceiling mounting

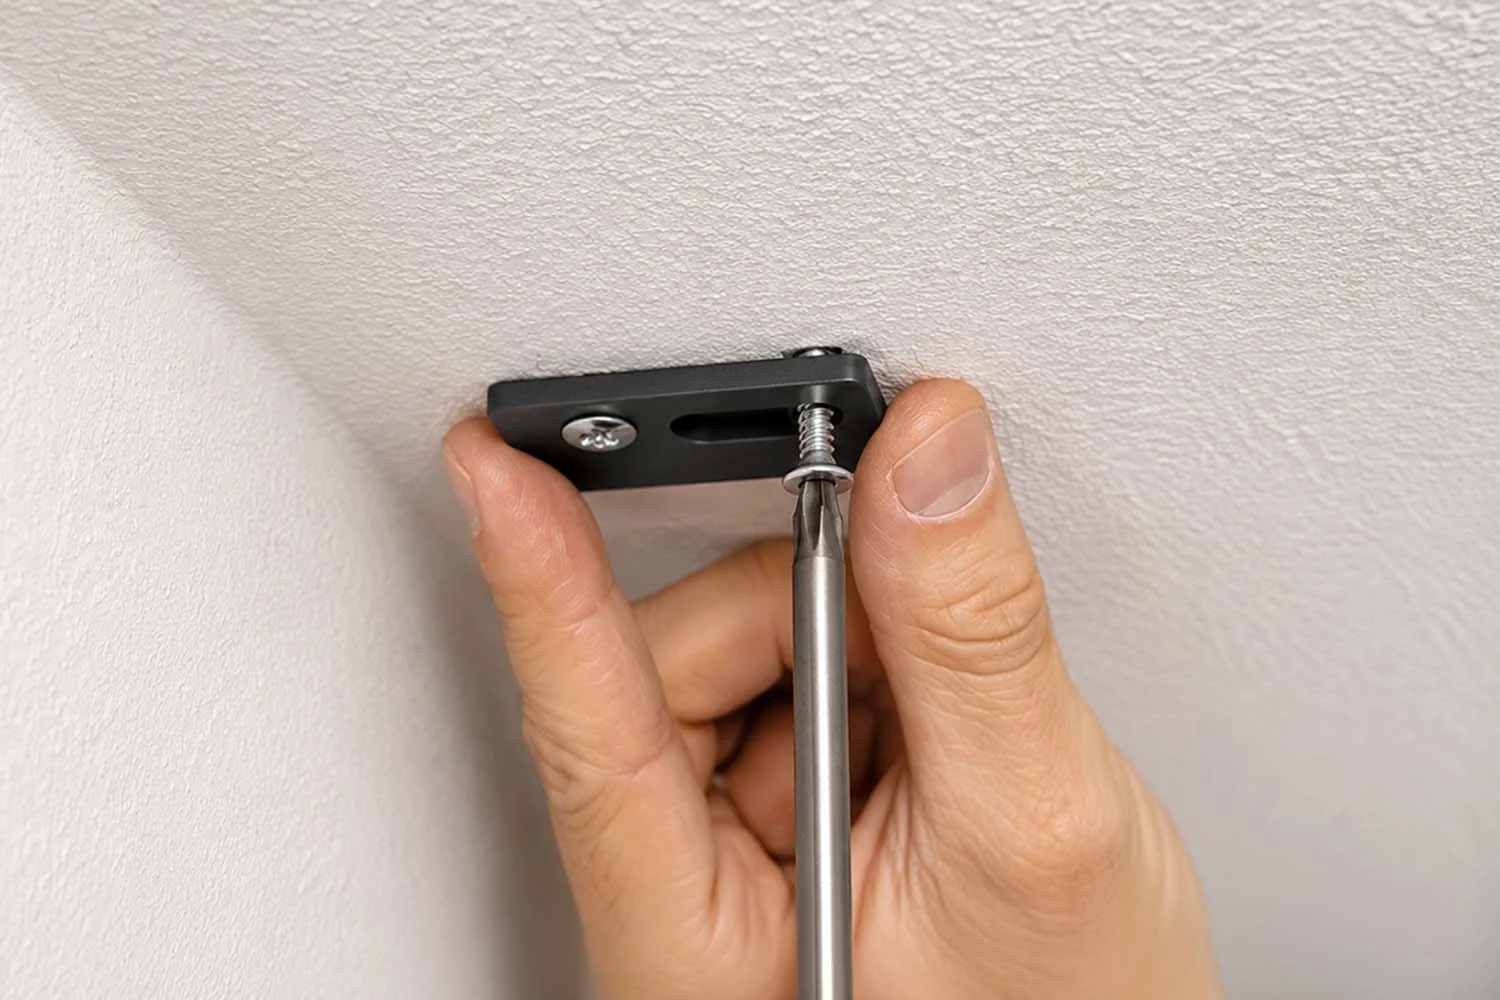
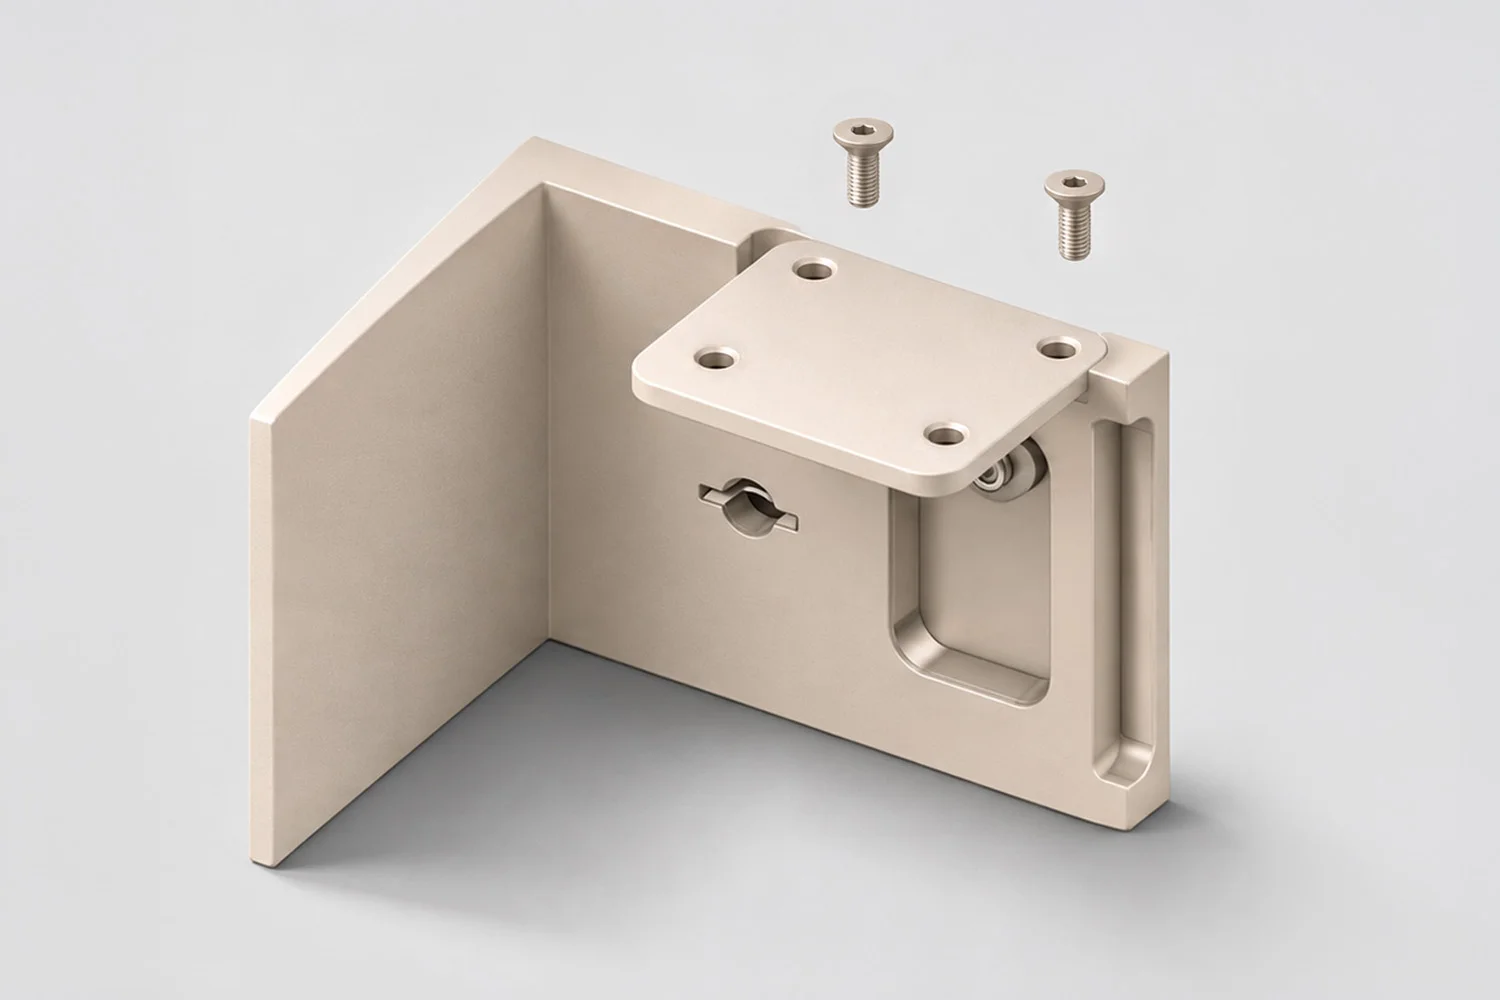
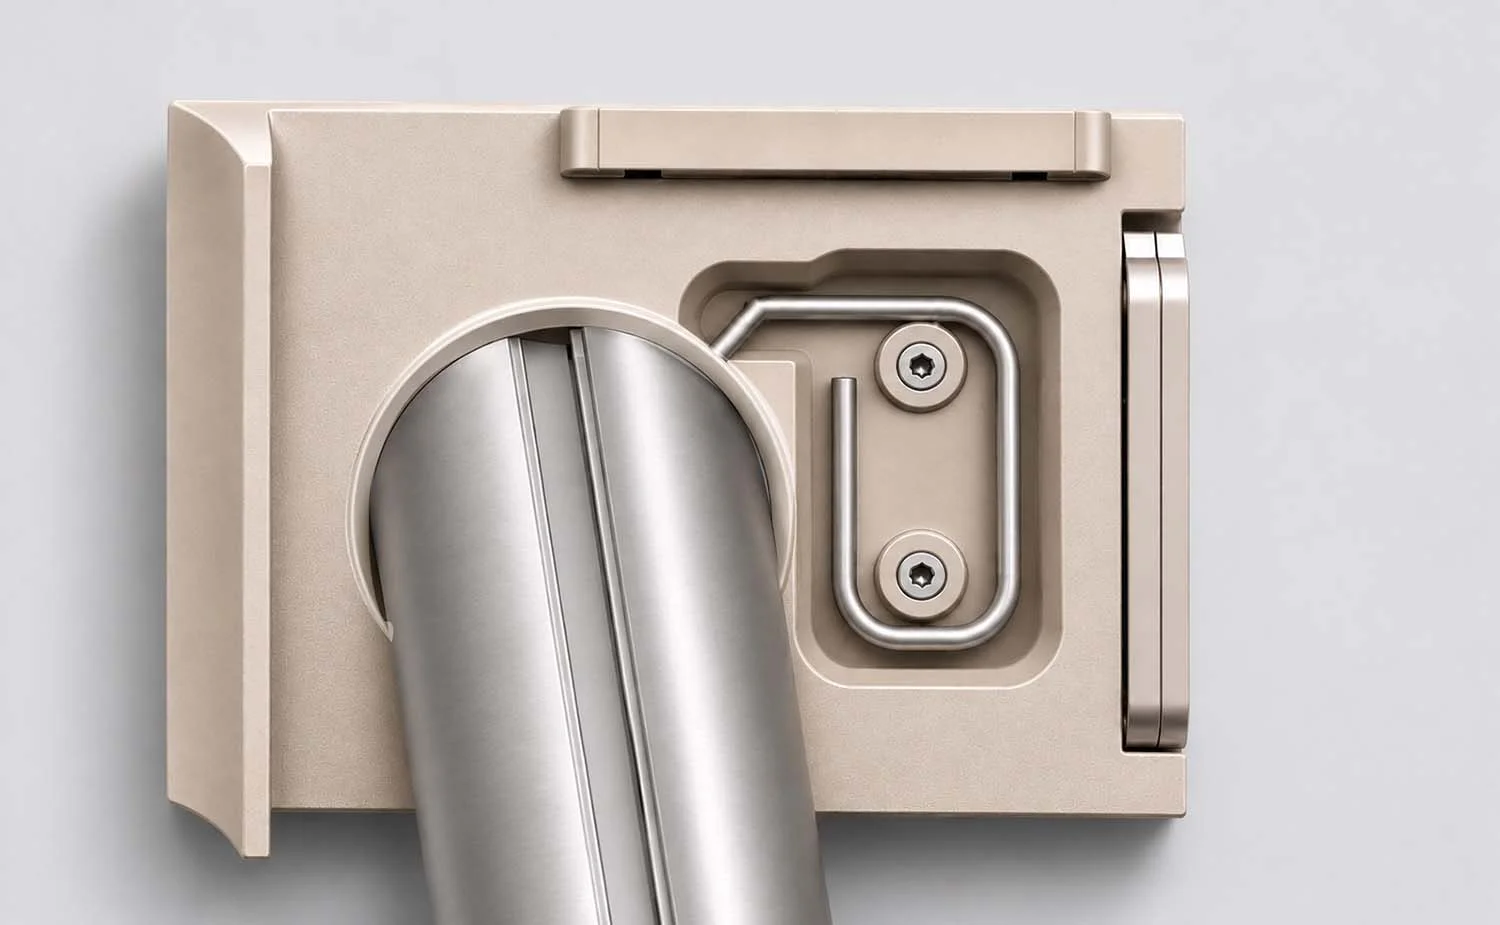
Using the screws provided, fix the brackets to the plates, on the right and on the left.
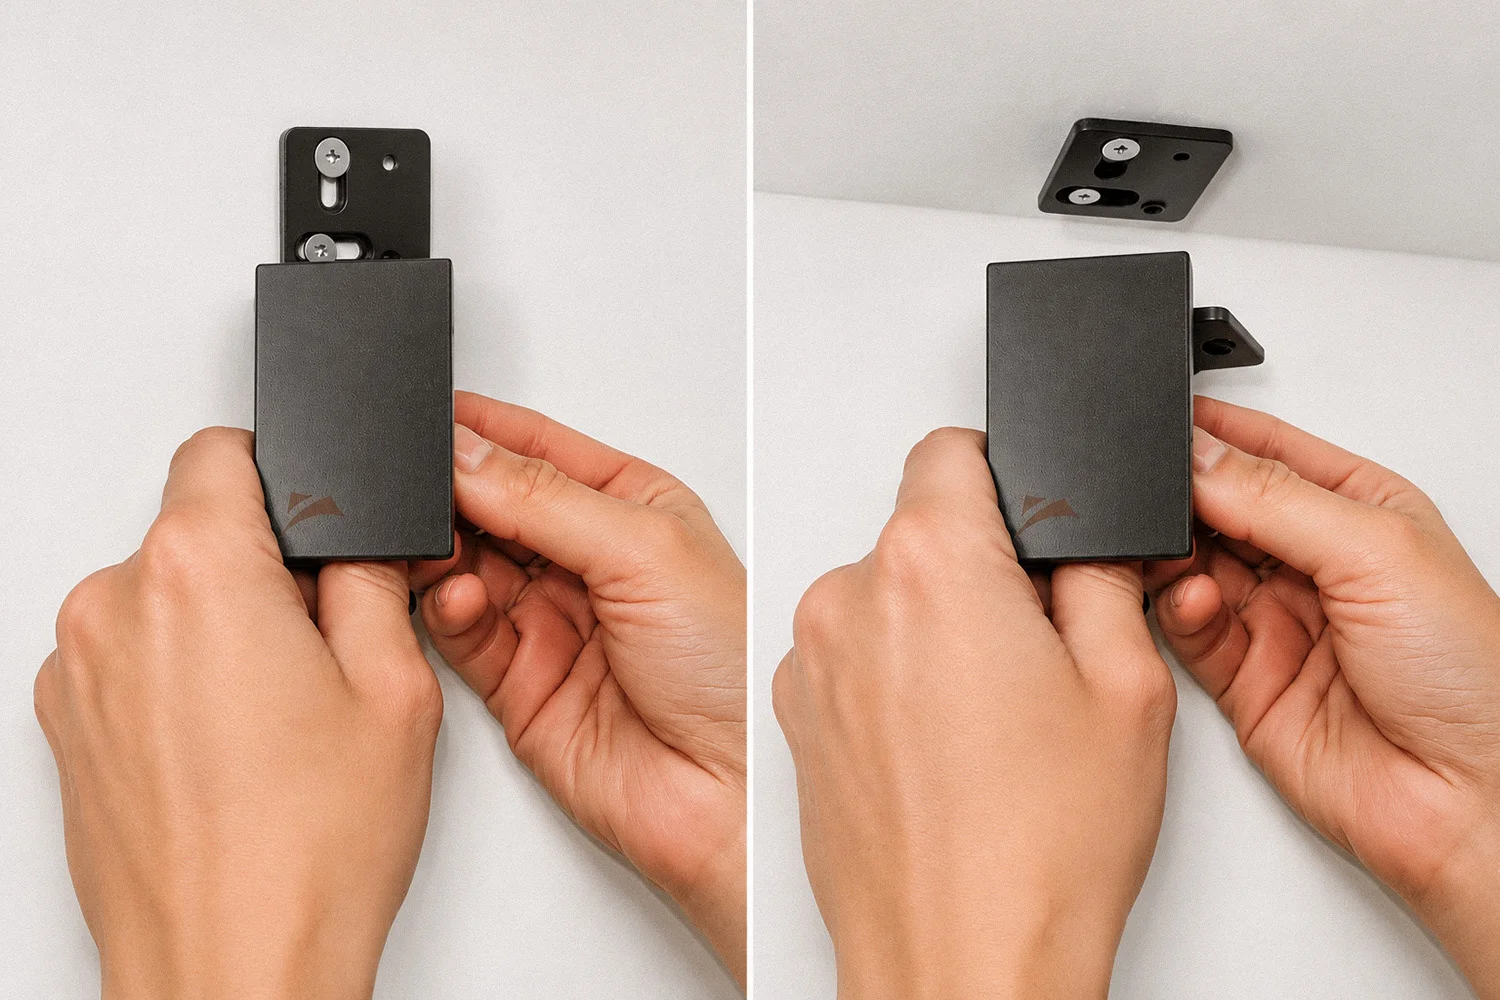
The plate connects to the bracket on two different sides, and the side you choose determines the type of mounting:

  • short side of the plate: wall mounting;
  • long side of the plate: ceiling mounting.

Bracket and plate, wall mount

Bracket and plate, ceiling mount

With both brackets mounted, you're ready for the roller tube.

The two brackets mounted

SO, WHAT DO YOU NEED TO DO?

Choose the side of the plate based on the mounting type and screw on the two brackets.

⚠ WARNING

Don't mix up the short side and the long side.

With the wrong side, the bracket is oriented for the other mounting type and you'll have to unscrew it and fix it again.

STEP 4

Choose the operating side and insert the adapter

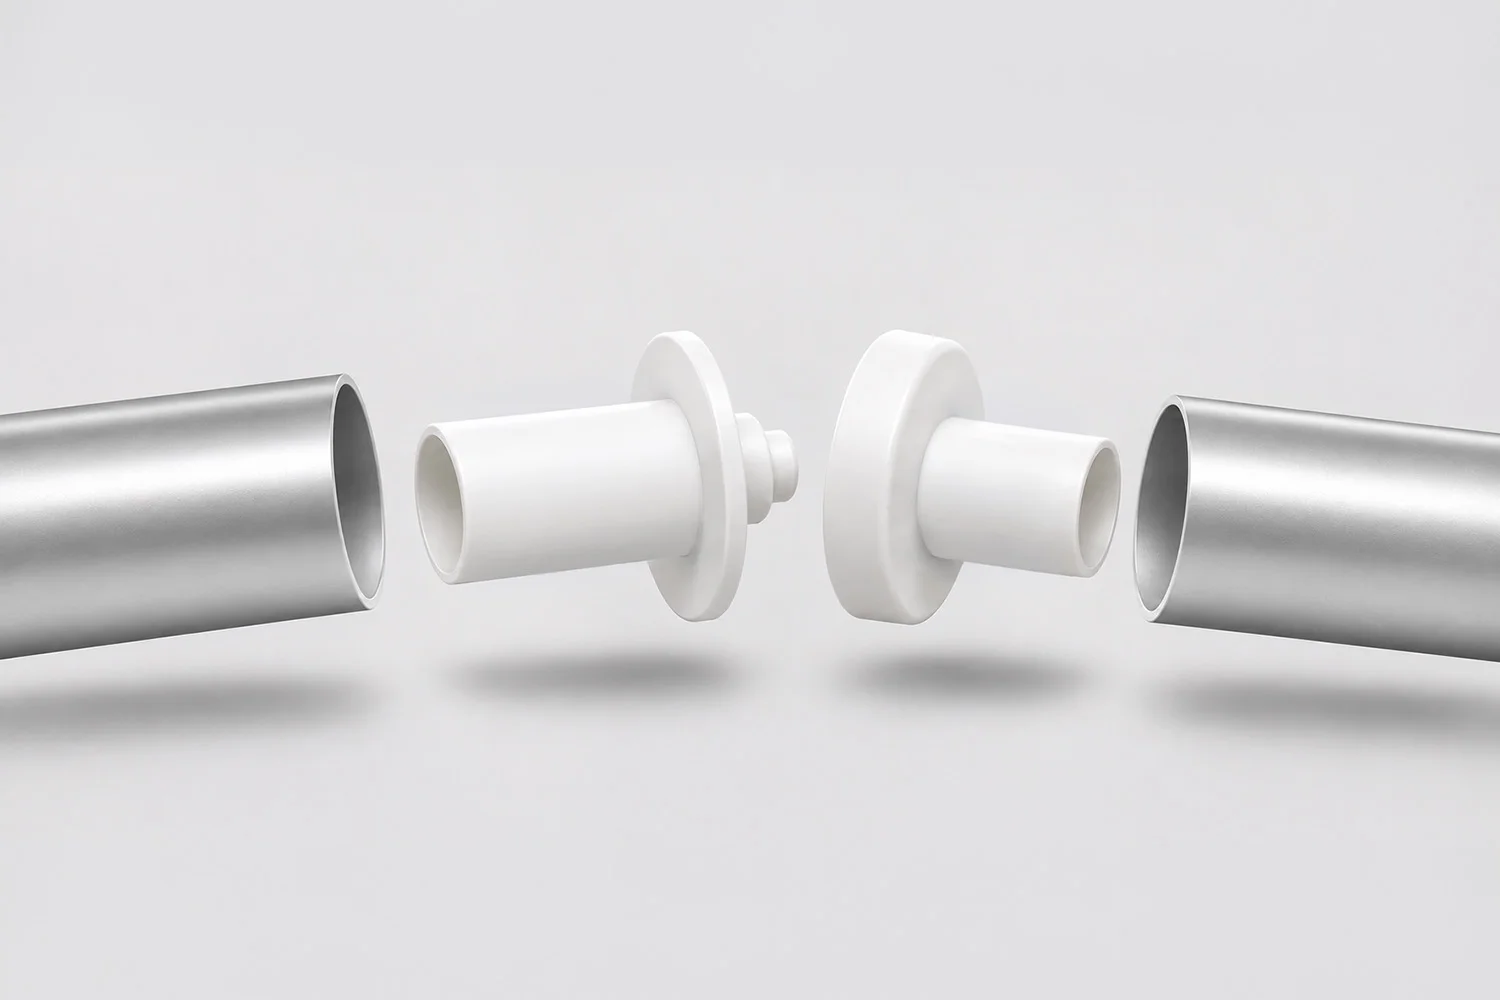
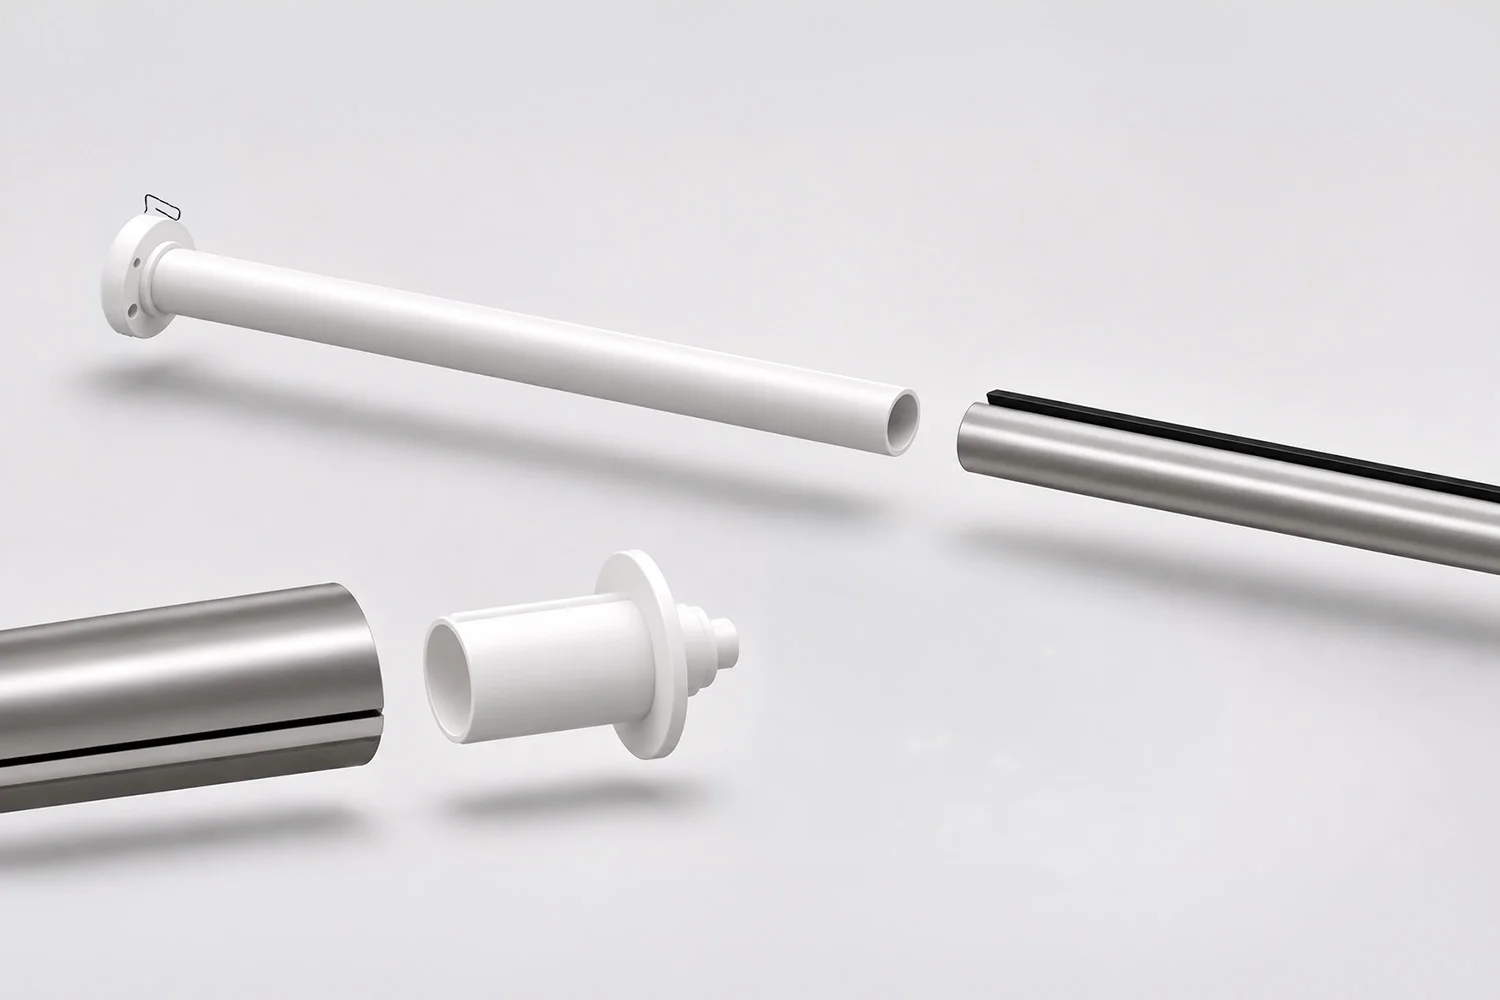
The operating system, chain clutch or motor, is already installed inside the roller tube. If you want the chain or the motor on the other side, slide the clutch (or the motor) out of one end of the tube and the idler end out of the other, then refit them the other way round.

Then take the adapter, the part that connects the operating system to the bracket. Insert the longer end into the clutch or the motor. The shorter end goes into the bracket in step 5.

Switching sides and adapter, manual and motorised

MOTORISED BLINDS ONLY
MOTORISED BLINDS ONLY
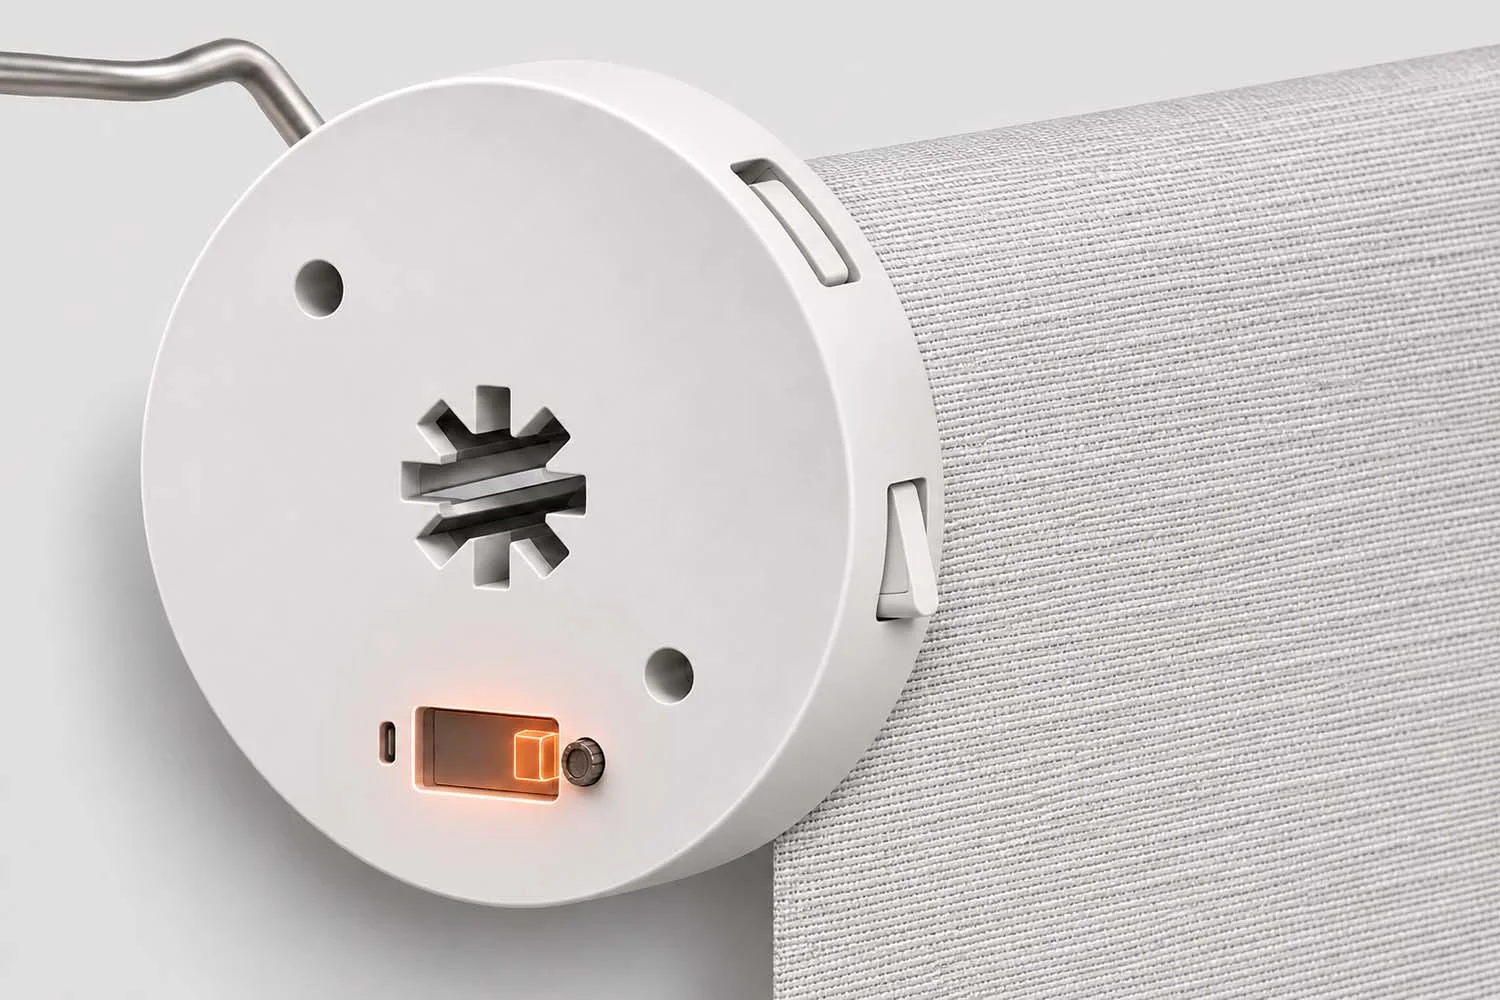
Turn on the motor

Before hanging the roller tube, press the button on the motor head to power it on. You use the same button to turn it off when you clean or service the blind.

SO, WHAT DO YOU NEED TO DO?

Prepare the roller tube before bringing it to the brackets.

  • If needed, move the clutch or motor to the other side.
  • Insert the adapter with the longer end in the clutch or motor.
  • Motorised blind: turn on the motor with its button.

⚠ WARNING

Don't insert the adapter the wrong way round.

If you put the short end in the clutch or motor, the long end won't fit into the bracket slot and the roller tube won't hang.

STEP 5

Hang the roller tube, starting from the operating side

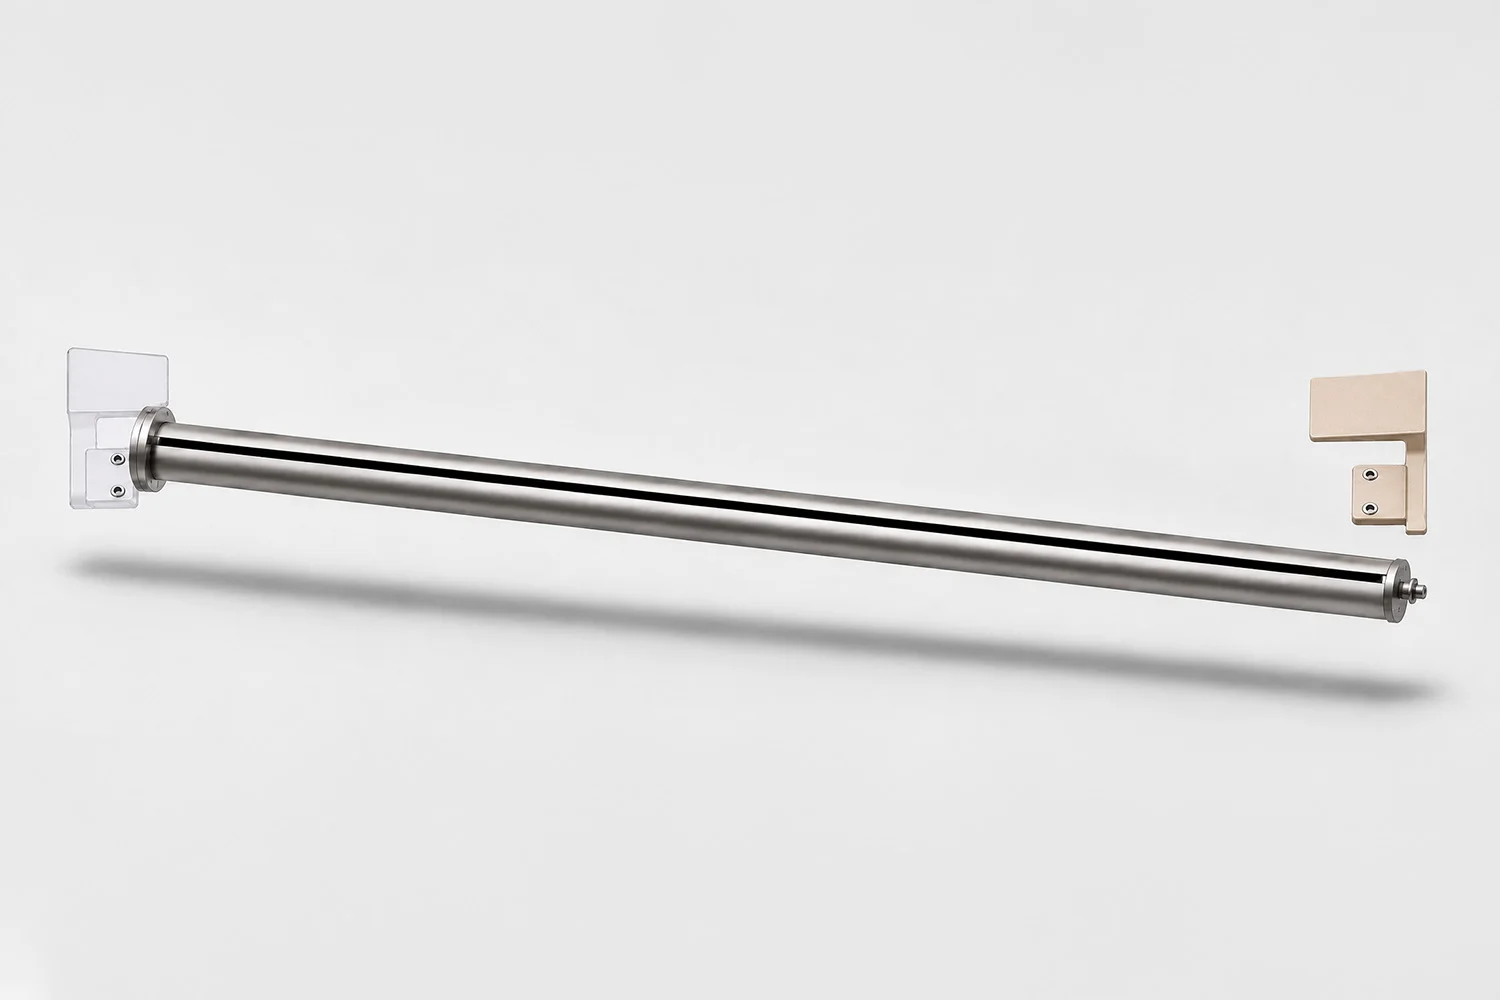
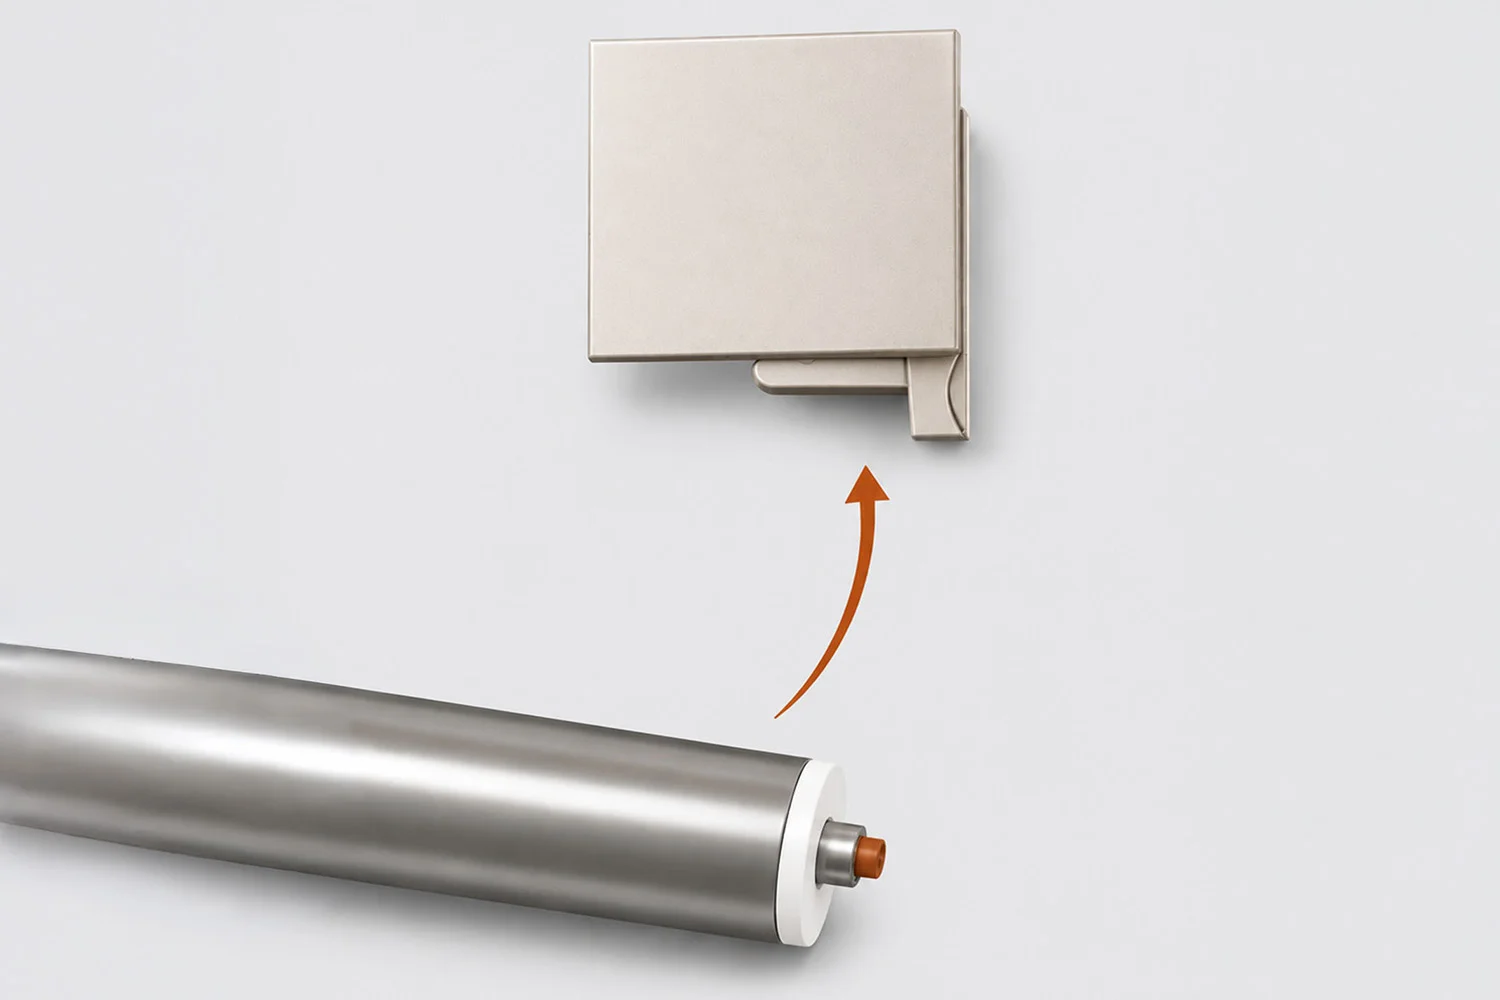
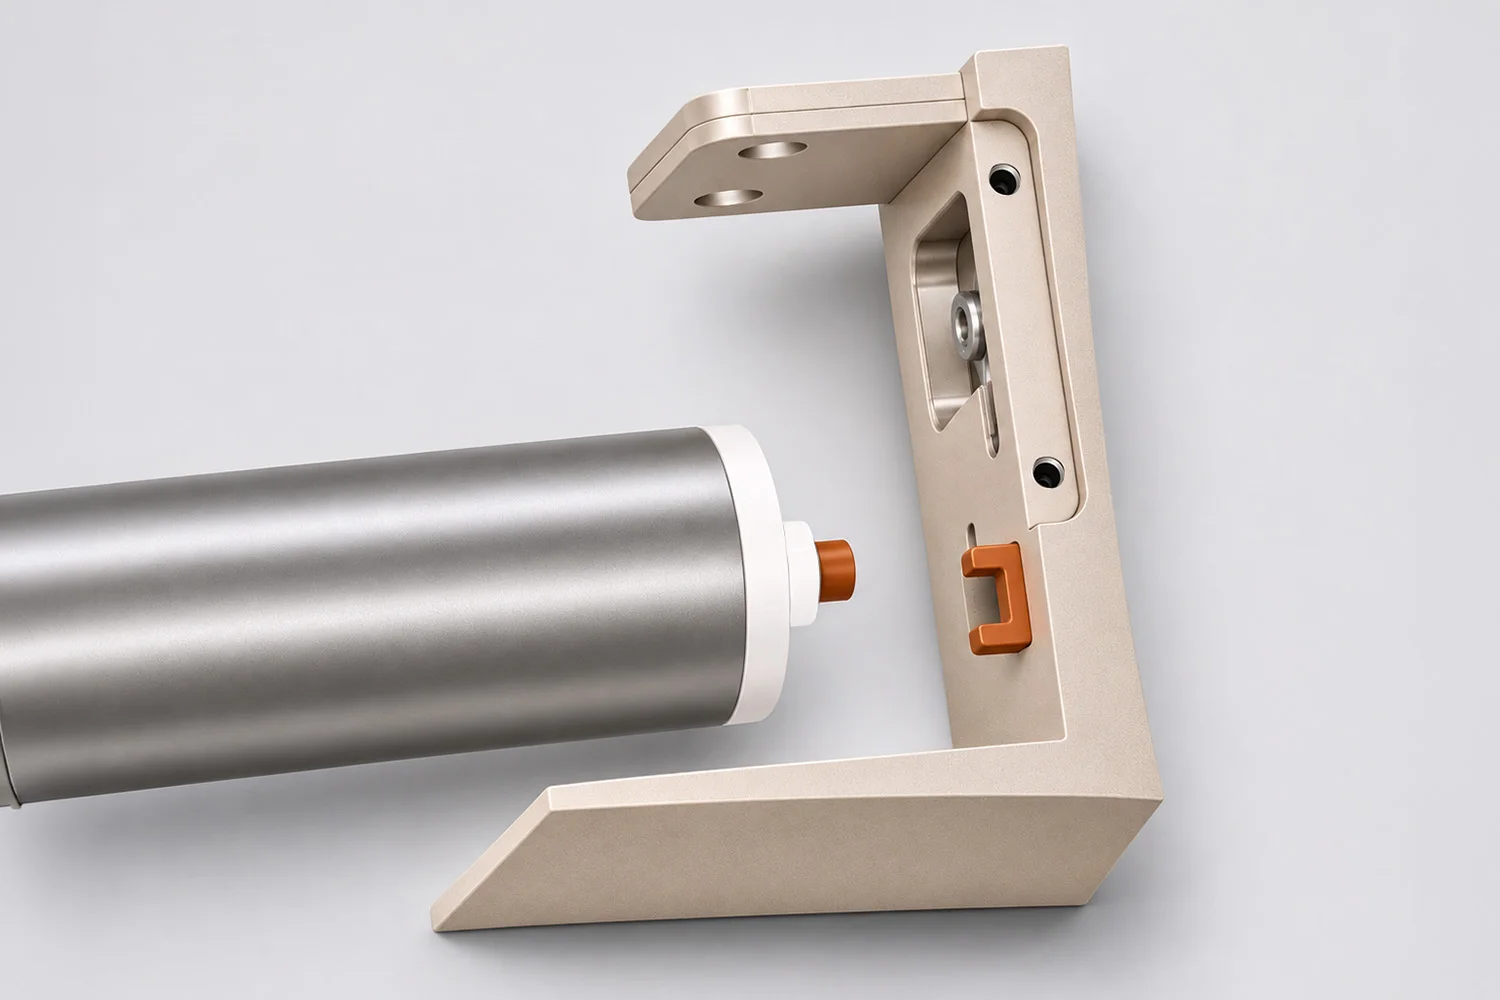
Bring the roller tube up to the brackets on the operating side and insert the adapter into the bracket slot.

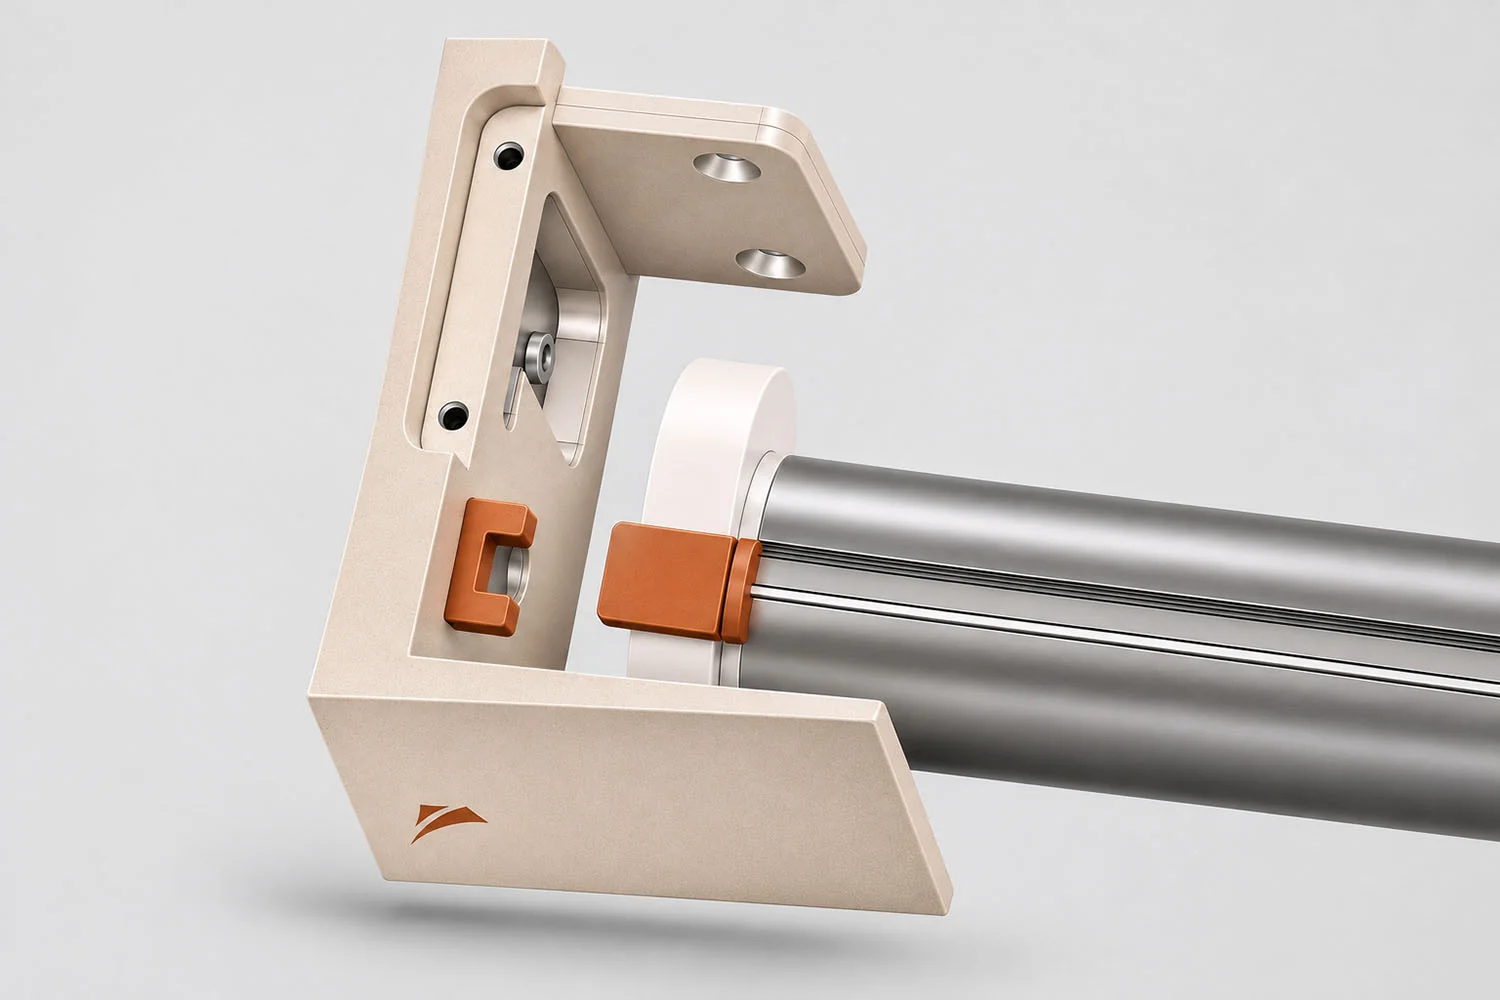
The opposite side, the idler end, has a spring pin. Bring the end cap up to the bracket and press the pin: it retracts, and when you release it in front of the bracket recess, it locks into place there.

Hanging the roller tube

MOTORISED BLINDS ONLY
MOTORISED BLINDS ONLY
Route the antenna

The bracket has a recess for the motor's receiver antenna: thread the antenna through it so it stays hidden.

Don't cut the antenna
Keep it away from metal objects and make sure it doesn't touch any moving parts.

SO, WHAT DO YOU NEED TO DO?

Operating side first, then the idler end.

  • Insert the adapter into the bracket slot.
  • Press the spring pin and lock it into the recess of the other bracket.
  • Motorised blind: place the antenna in its recess.

⚠ WARNING

Don't push the roller tube in without pressing the pin.

The pin stays outside the recess and the tube isn't locked in: the first time you open the blind, it can come out of the bracket.

STEP 6

Close the brackets with the covers

Fit all the magnetic covers on both plates.

On the motorised version, first check that the antenna is in its recess.

SO, WHAT DO YOU NEED TO DO?

Close the two brackets with the covers.

⚠ WARNING

Don't fit the covers before routing the antenna.

You'd have to take them off again to reach the recess.

STEP 7A

Manual blind: fix the chain tensioner

MANUAL BLINDS ONLY

If your blind is motorised, go to step 7B.

Attached to the chain you'll find the safety chain tensioner, the wall plug to fix it and a leaflet. The tensioner keeps the chain taut and stops it from forming a loop, which is dangerous for children. Fixing it to the wall is mandatory: it's required by the safety standards for indoor window coverings (EN 16433 and EN 16434).

1. Fix the tensioner to the wall with the plug, below the clutch.

2. Leave the chain slightly taut.

3. Keep the chain straight, in line with the clutch: the blind moves more smoothly.

SO, WHAT DO YOU NEED TO DO?

Fix the tensioner with the chain slightly taut and in line with the clutch.

⚠ WARNING

Don't leave the chain hanging loose.

Without a tensioner it can form a loop, with a risk of strangulation for children or pets. Keep cots, beds and furniture away from the blind. Remember that the chain must end at least 1.5 m from the floor.

STEP 7B

Motorised blind: pair the remote and set the limits

MOTORISED BLINDS ONLY
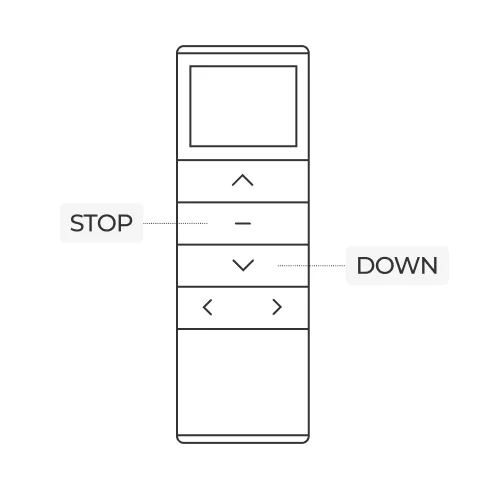
This step only applies if you have a motorised blind with a remote control. The remote has 15 channels, one channel for each blind. Channel 0 lets you control all the blinds at once.

In this step you'll often see the word jog: a short movement of the motor in one direction and back. You can see it in the fabric, which rises and drops slightly.

1. Pair the remote with the motor

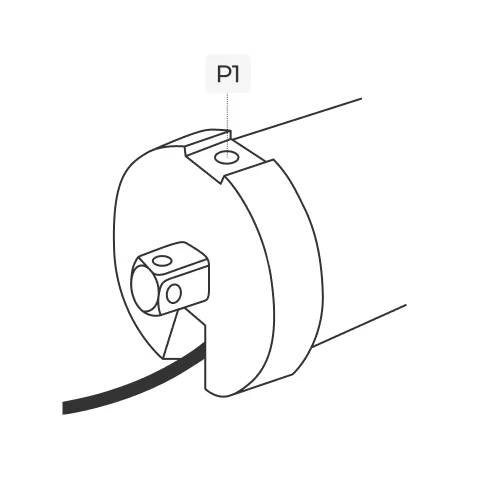
Press the P1 button on the motor until the motor jogs and beeps.

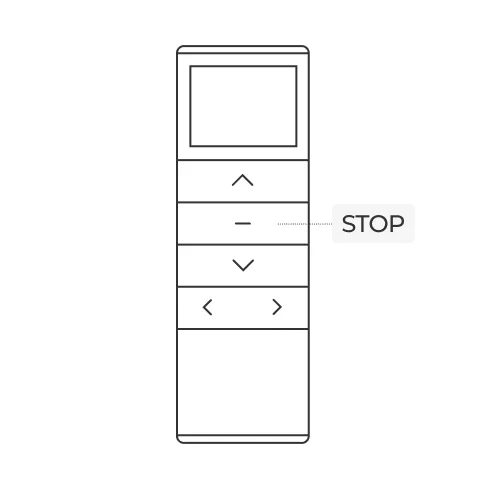
Within 10 seconds, press STOP on the remote for 2 seconds. The motor jogs twice and gives 3 short beeps: the remote is paired.

2. Check the direction of rotation

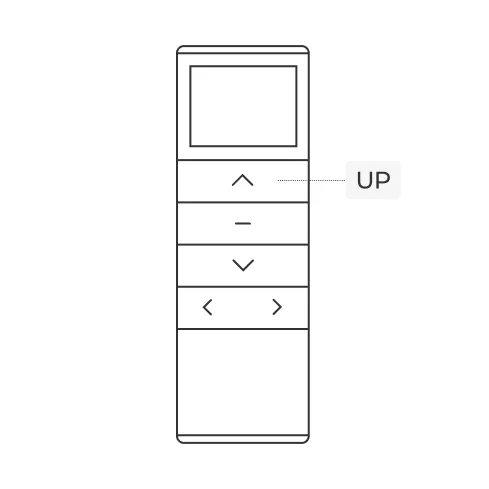
Press UP: the blind should go up.

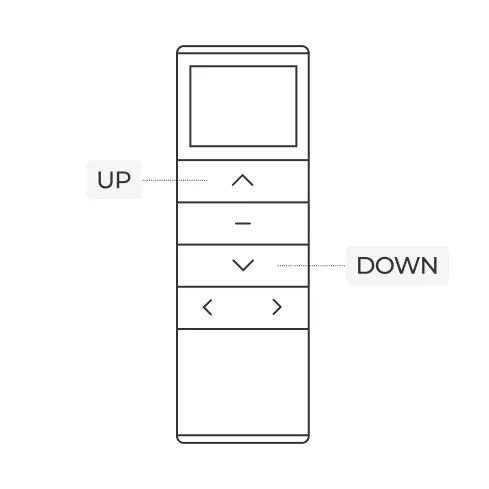
If the blind goes down instead of up, hold UP and DOWN together for 2 seconds. The motor jogs and gives a short beep: the direction is reversed.

3. Set the upper and lower limits

The limits are the points where the blind stops by itself, at the top and at the bottom.

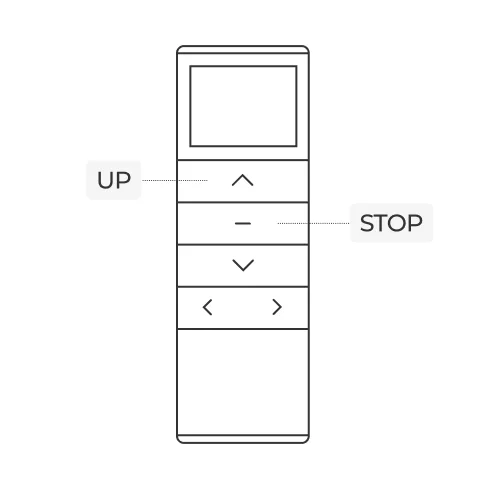
Top: press UP for 2 seconds, stop the blind at the height you want and hold UP and STOP together for 2 seconds. Two jogs and 3 short beeps: upper limit set.

Bottom: press DOWN for 2 seconds, stop the blind where you want and hold DOWN and STOP together for 2 seconds. Two jogs and 3 short beeps: lower limit set.

Useful functions

Adjusting a limit you've already set

Hold UP and STOP (for the upper limit) or DOWN and STOP (for the lower limit) for 5 seconds: one jog and one beep. Bring the blind to the new height with UP or DOWN, then hold UP and STOP, or DOWN and STOP, again for 2 seconds. Two jogs and 3 short beeps: new limit saved.

Saving a favourite position

You can only do this after setting both limits.

  1. Bring the blind to the position you want with UP or DOWN.
  2. Press P2 on the back of the remote until the motor jogs and beeps.
  3. Press STOP until the motor jogs and beeps.
  4. Press STOP again: two jogs and 3 beeps, position saved.

To recall it, hold STOP for 2 seconds.

Deleting the favourite position

Press P2 on the back of the remote until the motor jogs and beeps, then STOP until it jogs and beeps, then STOP again: one jog and a long beep, position deleted.

Pairing a second remote

You need the remote that's already paired (A) and the new one (B).

  1. Press P2 on A: one jog and one beep.
  2. Press P2 on A again: one jog and one beep.
  3. Press P2 on B: two jogs and 3 beeps, the new remote is paired.

To remove B, repeat the same sequence: at the end, B no longer controls the blind.

Unpairing the remote

Press P1 on the motor for 2 seconds: one jog and a long beep. Then press STOP on the remote for 2 seconds: two jogs and 3 short beeps, remote unpaired.

Changing the speed

To increase it: press P2 (one jog and one beep), then UP (one jog and one beep), then UP again (two jogs and 3 beeps). To decrease it, do the same with DOWN instead of UP. If the motor doesn't respond, it's already at maximum or minimum speed.

Controlling several blinds with the same remote

Switch to another channel with the CHANNEL UP and CHANNEL DOWN buttons and repeat the pairing. If you can't change channel, hold CHANNEL UP and CHANNEL DOWN together for 3 seconds: a number appears on the display. Choose how many channels you want to use with CHANNEL UP and CHANNEL DOWN and confirm with STOP.

Resetting the motor to factory settings

Hold P1 on the motor for 14 seconds: 4 jogs and 4 beeps. The motor loses its limits, favourite positions and paired remotes, so you'll need to start again from pairing.

SO, WHAT DO YOU NEED TO DO?

Pair the remote and set both limits.

  • P1 on the motor, then STOP for 2 seconds within 10 seconds.
  • Check that UP raises the blind.
  • Save the upper limit (UP + STOP) and the lower limit (DOWN + STOP).

⚠ WARNING

Don't use the blind without limits.

Without set limits, the motor may not stop when closing, or the blind may not open or close fully.

IF SOMETHING DOESN'T WORK

Common problems and how to fix them

For each problem you'll find the possible causes and what to do. If the problem persists after these checks, contact customer service.

The remote doesn't respond
  • Motor battery is flat: recharge it with the power adapter.
  • Remote battery is flat: replace it.
  • No power or incorrect connection: check cables and connections.
  • Radio interference: check that the antenna is intact and exposed and that there are no other sources of interference nearby.
  • You're too far away: move closer to the blind.
The remote moves several blinds at once

Several motors are paired to the same channel. Pair only one blind per channel.

The motor doesn't start, starts slowly or is noisy

Check the connections and how the roller tube sits in the brackets. If the noise continues, contact customer service.

The blind stops while going up or down

It has reached the upper or lower limit. If you want it to stop higher or lower, adjust the limit.

The blind squeaks when it moves

There's dust or something in the way in the moving parts: clean them. If the squeaking continues, the fabric may be misaligned: contact customer service.

The blind moves jerkily or jams

Check that nothing is caught between the fabric and the roller tube and remove it. If the problem persists, contact customer service.

The motor doesn't stop when closing, or the blind doesn't open and close fully

The limits aren't set correctly. Set them again as in step 7B; if that doesn't help, contact customer service.

The blind opens and closes by itself

The remote battery is flat: replace it.

The blind doesn't move

Pair the remote again as in step 7B, then check the remote battery and the motor battery, and recharge the motor. If it still doesn't move, contact customer service.

CLEANING AND MAINTENANCE

How to clean the fabric and how often to check the blind

Turn off the motor before cleaning

On the motorised version, switch off the motor with its button before any cleaning or maintenance.

Clean the fabric only with a damp cloth and lukewarm water. Don't wash it in water, don't put it in the tumble dryer, don't wring it, don't iron it and don't use bleach.

Every three months

Dust the fabric with a vacuum cleaner or with a sponge or damp cloth and lukewarm water, then let it dry. This prevents dust and dirt from causing mould. Clean the aluminium parts with water and a mild detergent.

Twice a year

  • Clean the metal parts.
  • Check the mounting and any signs of wear.
  • Check the fabric for tears or broken seams.
  • On the manual version, also check the chain and the clutch.

Once a year

Check that the blind goes up and down smoothly. If you notice wear, tears or unusual movements, contact customer service.

How to recharge the motor

Only use the power adapter provided: the motor charges via a 5 V USB-C cable. Don't connect it to other power adapters.

Everything you need: guides and instructions

Domande frequenti

ARGOMENTO (INSERIRNE UNO PER OGNI SEZIONE DELLA GUIDA)

Accordion #1
I am item content. Click edit button to change this text. Lorem ipsum dolor sit amet, consectetur adipiscing elit. Ut elit tellus, luctus nec ullamcorper mattis, pulvinar dapibus leo.
Accordion #2
I am item content. Click edit button to change this text. Lorem ipsum dolor sit amet, consectetur adipiscing elit. Ut elit tellus, luctus nec ullamcorper mattis, pulvinar dapibus leo.

FAQs