Your cart
There are no more items in your cart
Configure your shade sail online
Design, shape, fabric. Ready in 5 days.
Learn more
There are no standard measurements: every window is different, every space has its own specific characteristics. This guide takes you from the values to be measured to the exact measurement to enter in the configurator, step by step, with no surprises.
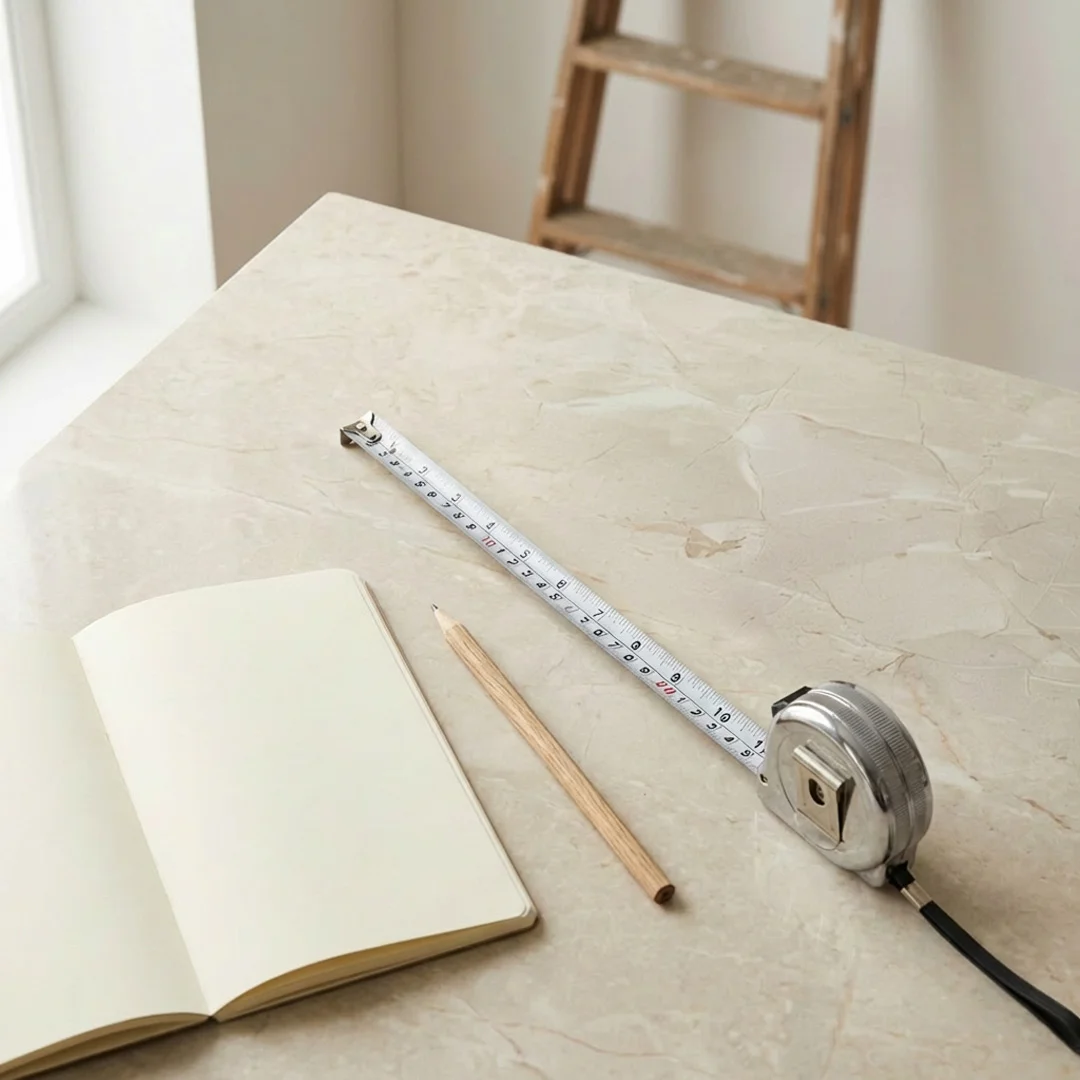
What you need before you start:
Custom production range
In brief
First decide where to fix the bracket - on the wall or on the ceiling. It is not just an aesthetic choice: the installation type changes the way you measure and, in some cases, solves practical issues you would only discover after fitting.
Before taking any measurements, decide where to fix the bracket. This choice comes before everything else: it affects how you measure and, in some cases, resolves issues you would only notice after installation.
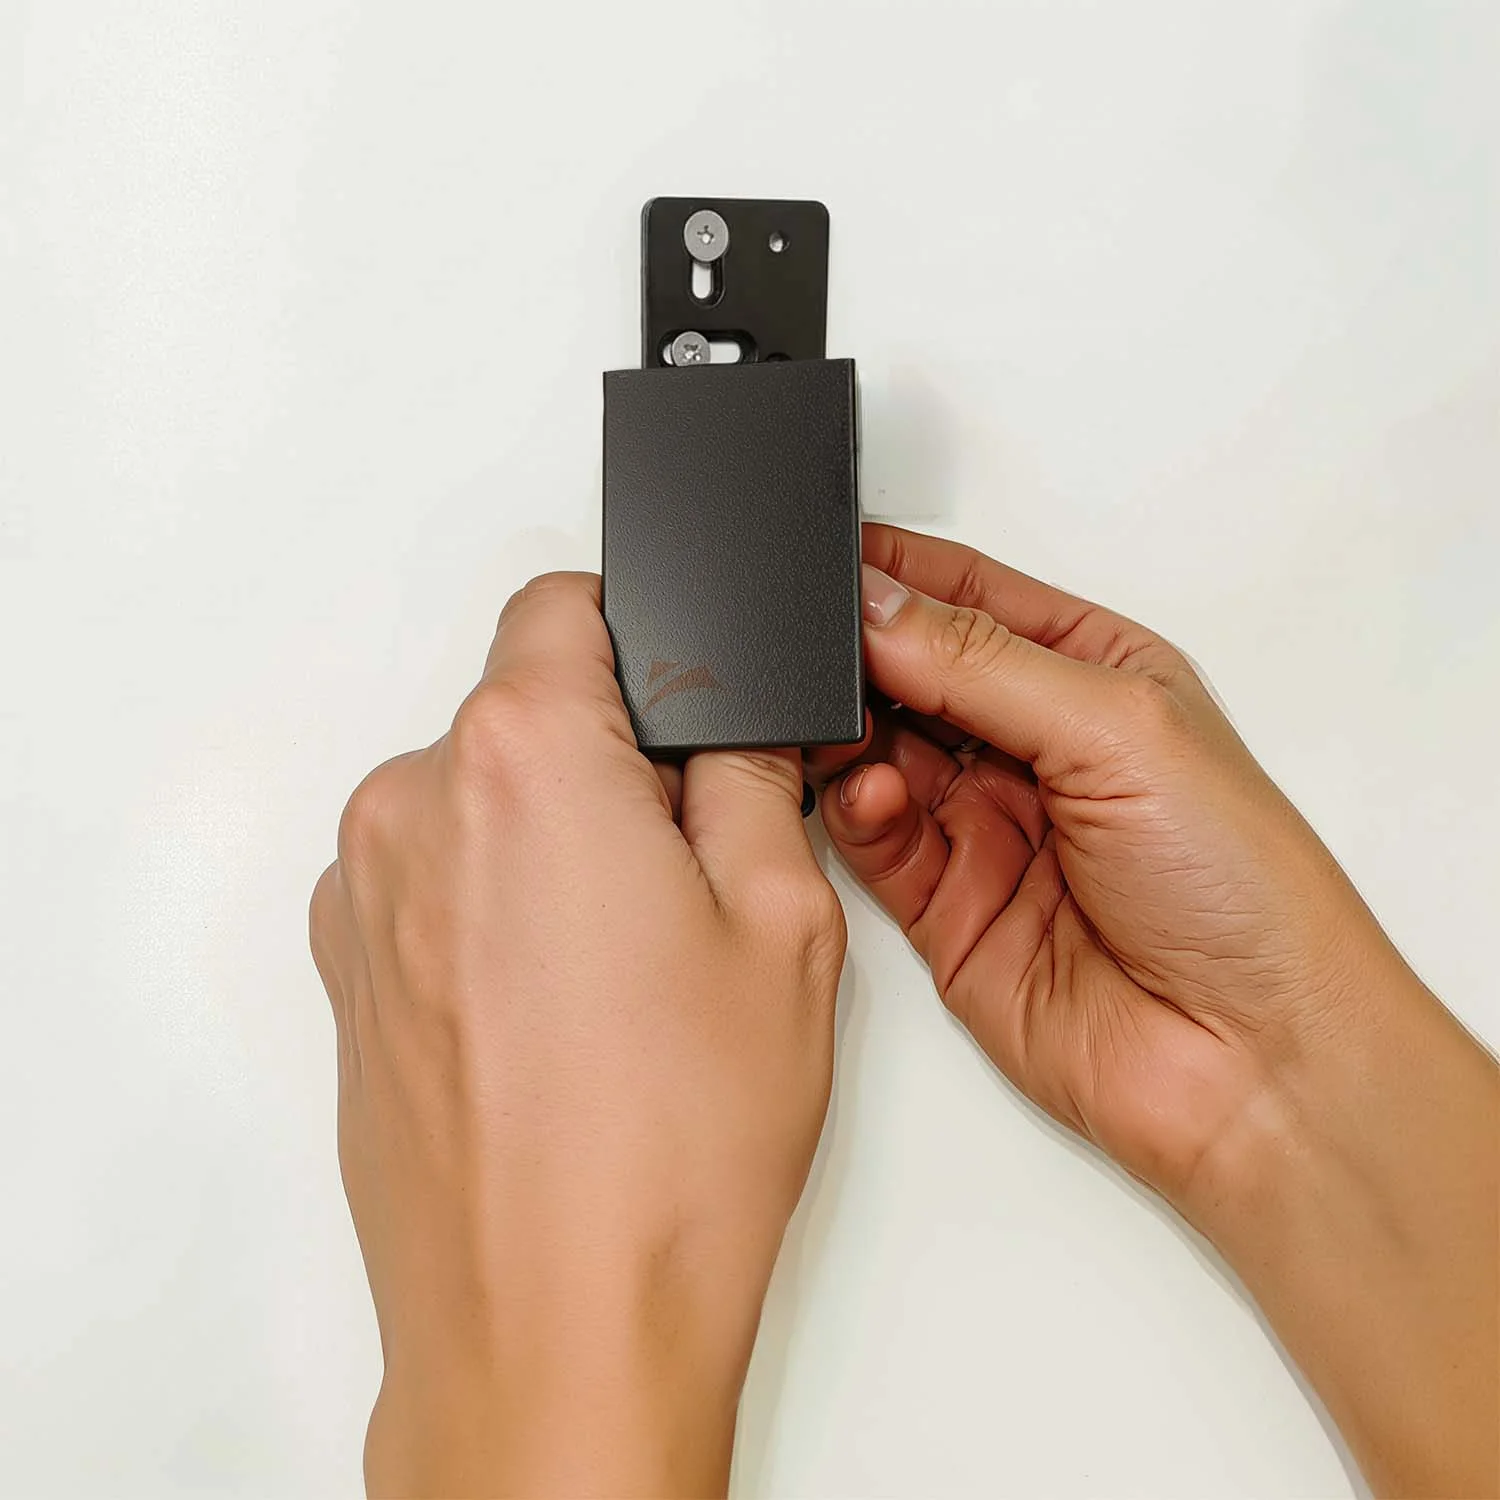
Wall mounting
The bracket is fixed above the window, on the wall. It fully covers the window frame and suits almost every situation. With this mounting, the fabric sits approximately 8 cm from the wall.
Tip: extend the fabric to cover the entire frame and leave at least 5 cm on each side beyond the frame. The aesthetic result is much neater.
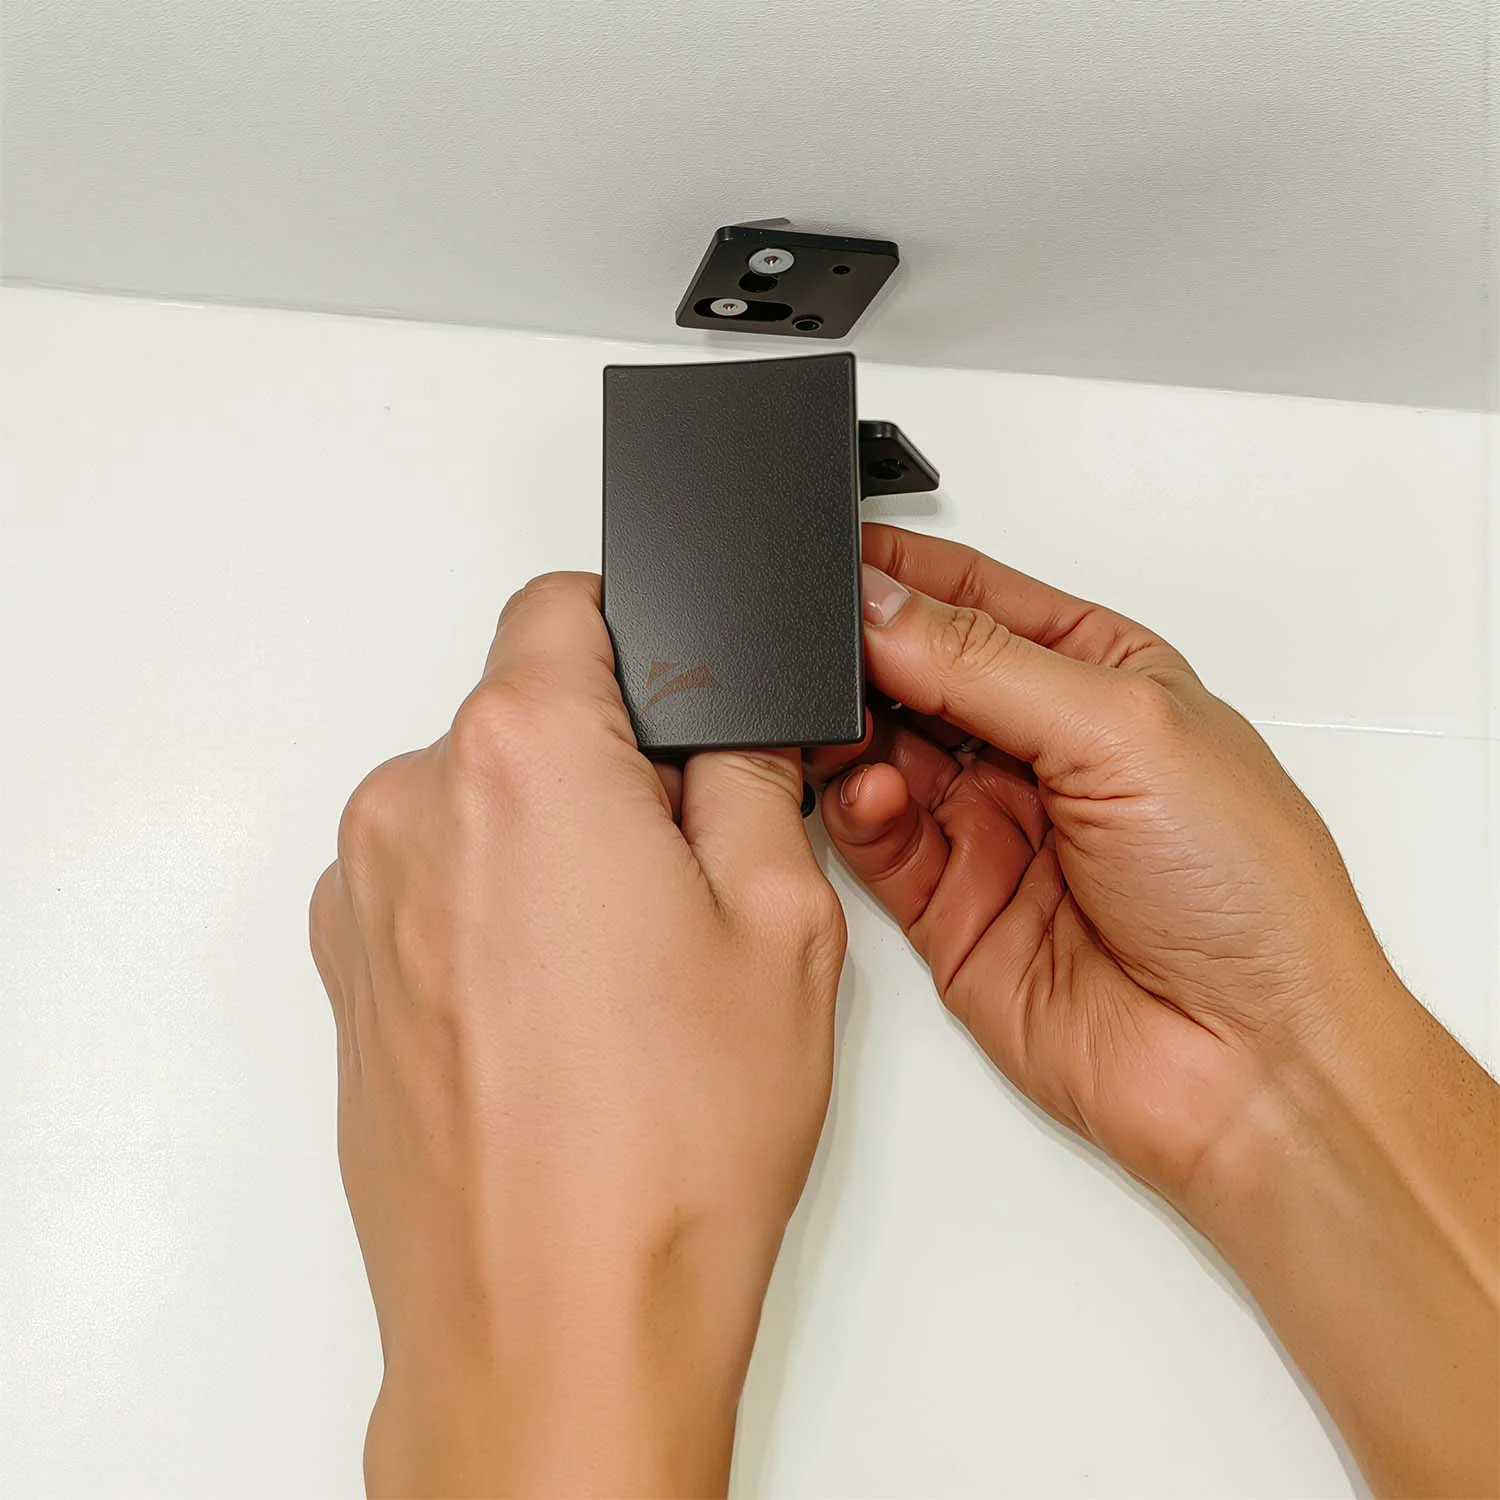
Ceiling mounting
The bracket is fixed directly to the ceiling. This is the right choice when the wall above the window is insufficient, or when you have a large glazed surface. It gives you more horizontal clearance, which is also useful when there are protruding handles.
Please note: check that the fabric does not touch the window opening handle as it descends.
In brief
Start from the width of the glass or the entire frame, add 5 cm of overlap on each side, then add the fixed technical clearance for the chosen model: Kyma 25 mm per side, Recta 21.4 mm per side. The formula gives you exactly the measurement to provide us with.
Measure the width of the glass, or of the entire window frame if you want to cover it fully. The aesthetic result is significantly better.
Then add the overlap: the margin of fabric that extends beyond the window on each side. The recommended standard is 5 cm per side.
Then add the technical clearances. Between the edge of the fabric and the bracket there is always a fixed technical gap that depends on the model:
This value is the same for both the Slim and Standard bracket: what changes is the physical footprint in the room, not the fabric calculation.
The formula
Practical example - Kyma bracket, 200 cm window:
Production range: minimum width 60 cm, maximum 280 cm.
In brief
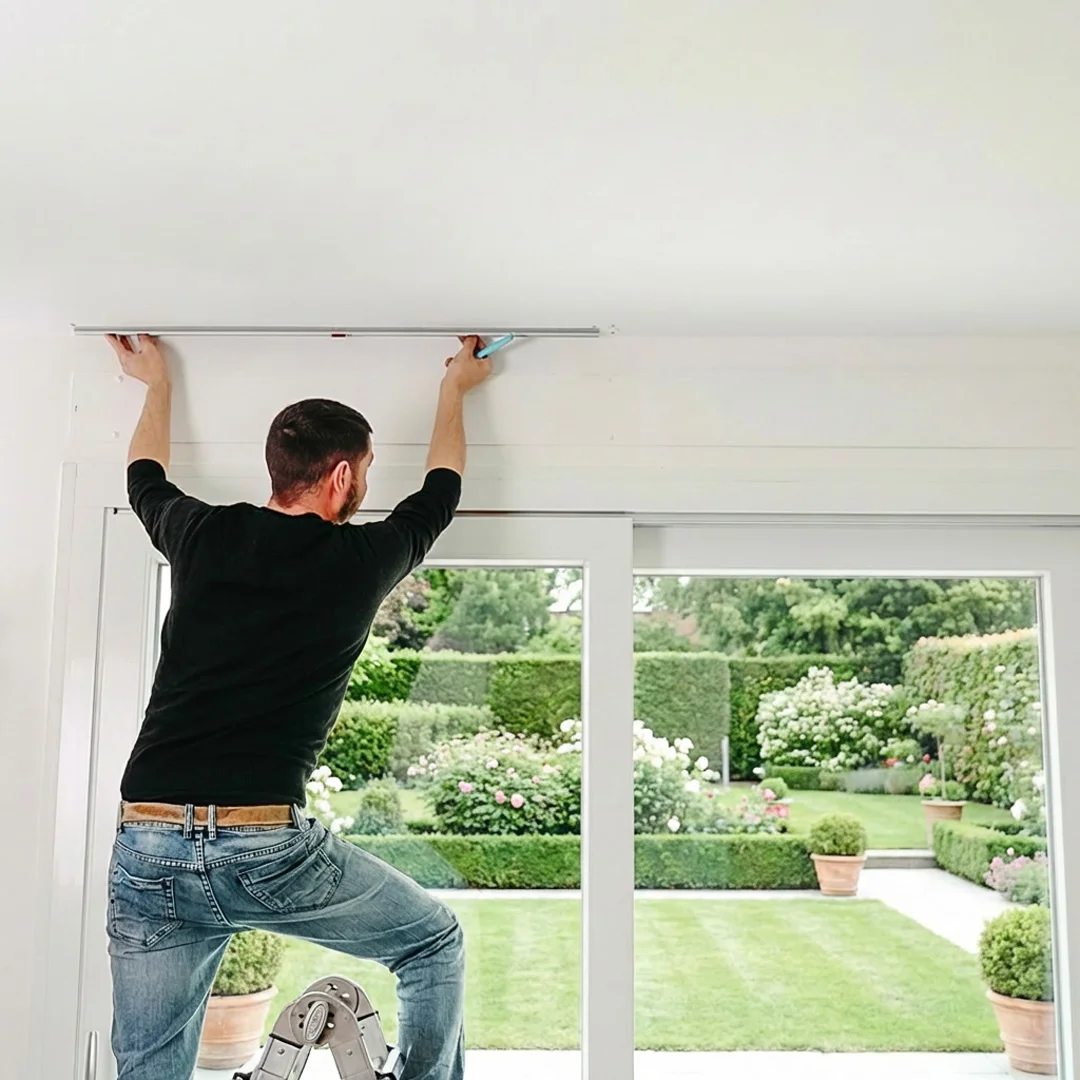
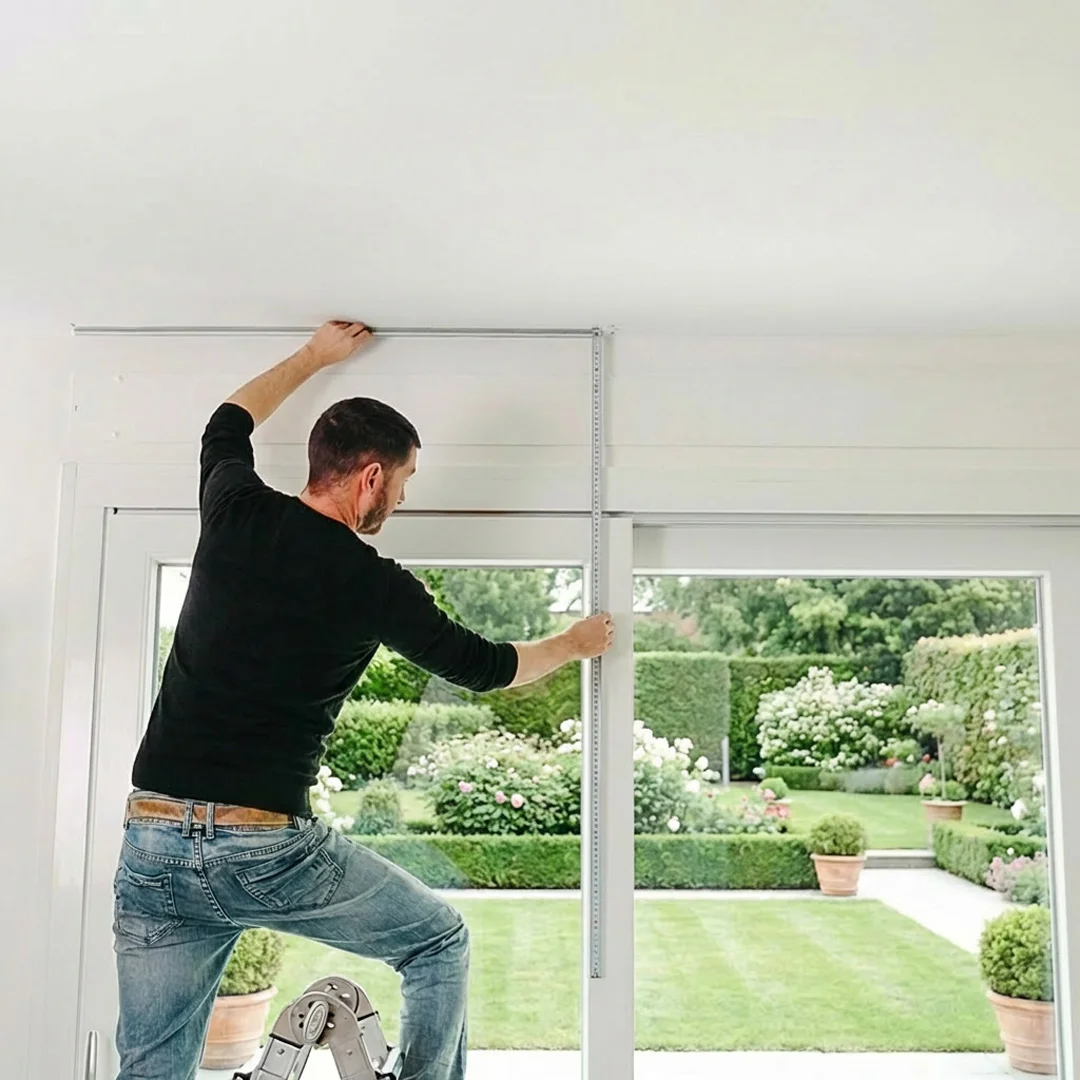
Measure from the fixing point (wall or ceiling) to where you want the fabric to reach: the bottom edge of the sill or the floor. You do not need to add or subtract anything: the height you measure is exactly what we need.
Identify the point where you want to fix the bracket (wall or ceiling) and measure from that point to where you want the fabric to reach: the bottom edge of the sill, or down to the floor if you prefer a more enveloping effect.
You do not need to add or subtract anything: the height you measure is exactly what we need.
Production range: minimum height 30 cm, maximum 300 cm.
In brief
This measurement does not concern the fabric: it is used to cut the chain to the correct length. When the installation height from the floor is 200 cm or less, the blind must be motorised - this is a safety requirement under European standard EN 16433:2014.
This information is separate from the fabric height and relates exclusively to safety. With manual blinds we supply a chain to operate the blind. Under European standard (EN 16433:2014), this chain must not be positioned less than 150 cm from the floor - this is a child safety measure.
The practical rule:
The anti-strangulation device is already included with every Maanta manual blind. Always provide us with the installation height when ordering: the chain is cut to measure based on that value.
Got your measurements? Configure now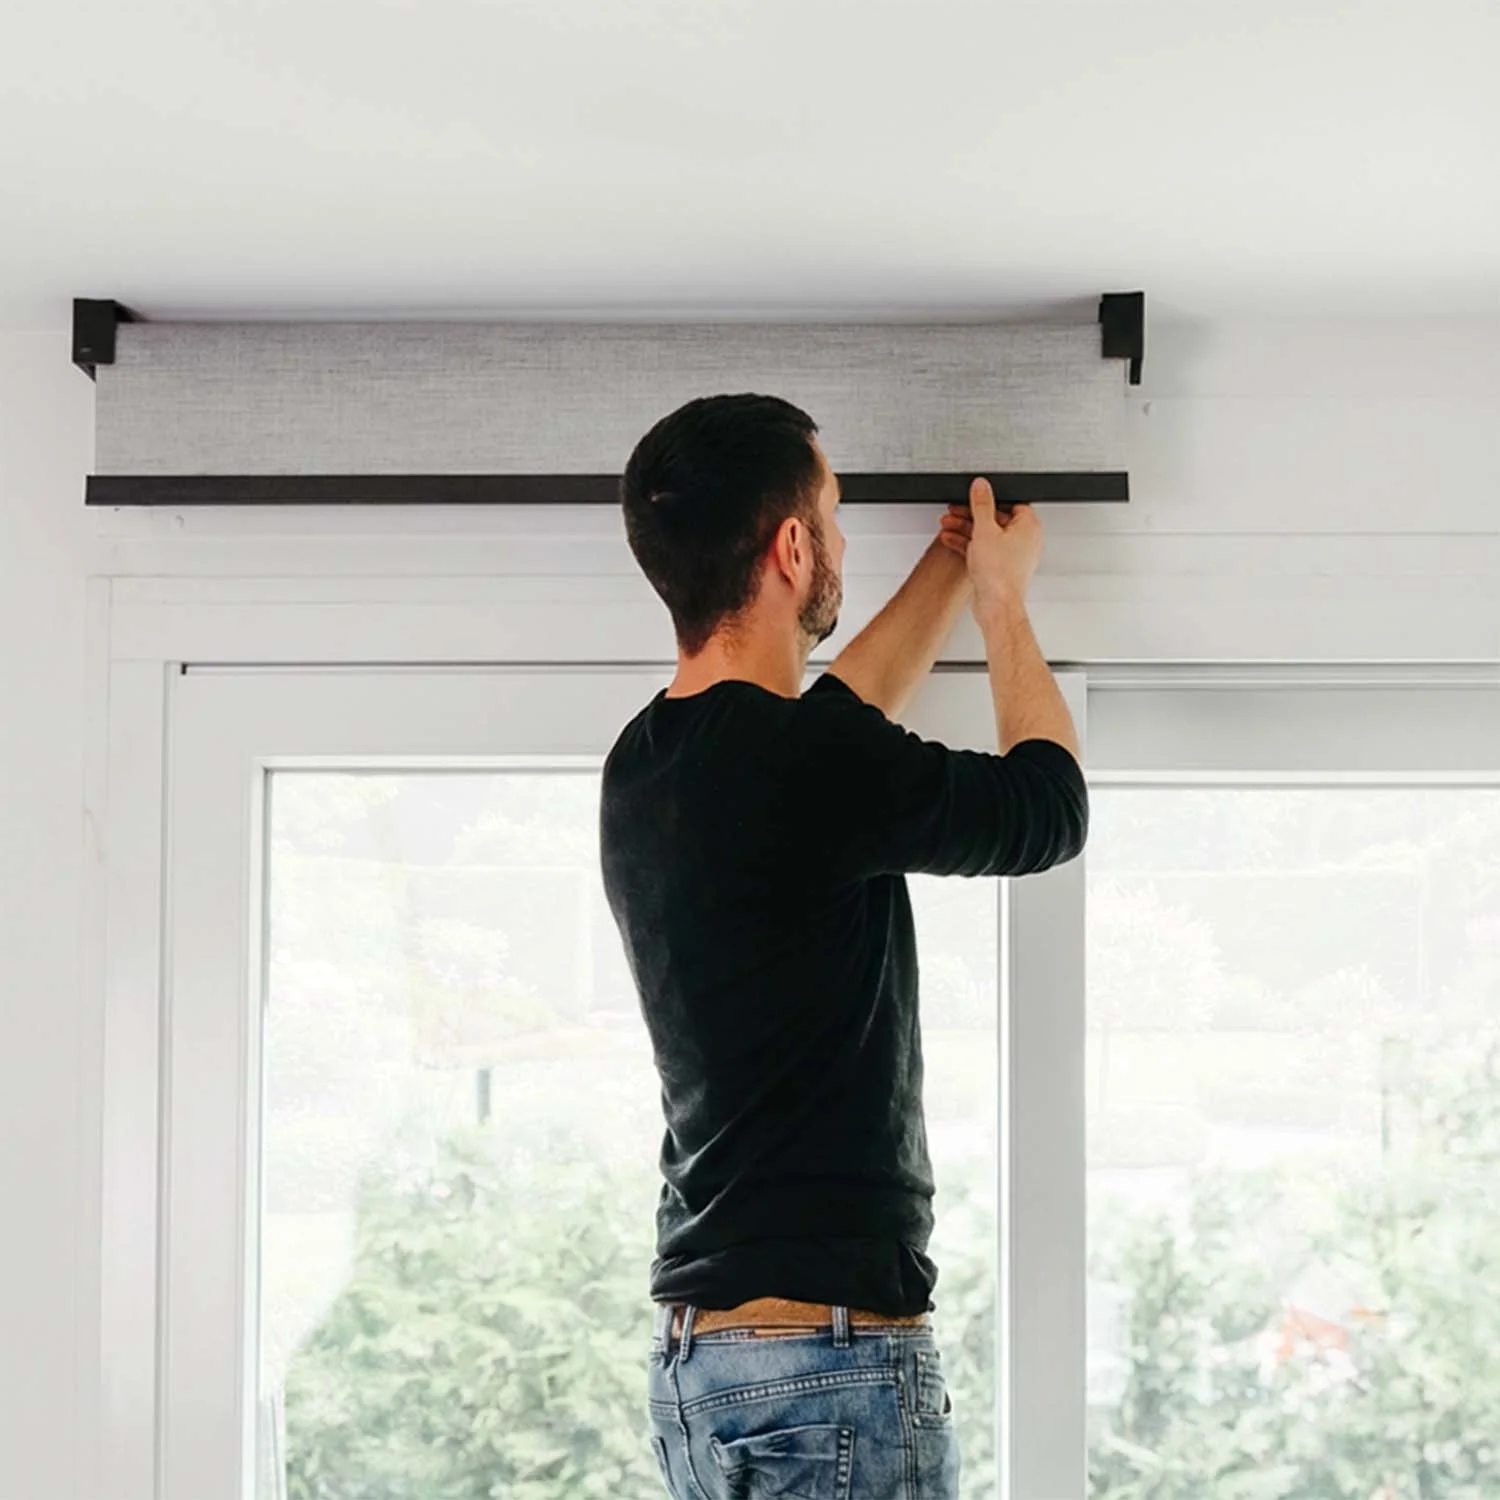


 English GB (English)